Android Material Component: Toolbar vs DisplayCutout
For the past two years, many mobile brands came out with their version of a cutout display lately and with that, we as developers need to think about yet another edge case, especially if we’re working with a completely immersive experience.

With Android 9 (API level 28), Google officially started supporting what’s famously known as the notch, a cutout display at the top (because the last two years were the years of the notch?). I can’t claim that but with the notch support, many mobile brands came out with their version of a cutout display and with that, we as developers need to think about yet another edge case, especially if we’re working with a completely immersive experience.
To give you a little knowledge of what I’ve researched, what I noticed while dealing with the notch is that the devices’ notch are either the size of the status bar or the status bar is adjusted vertically if the notch is a bit longer in height. Meaning, since the status bar is not technically a part of your app, it is almost always taken care of by Android.
But..
What happens when you want to hide the status bar to make your view fullscreen? That is something you need to solve as a developer.
And since I’ve already taken my time solving it last week, I thought of it as the perfect new tutorial for everyone of you to save your time dealing with it.
Let’s get started.
Prerequisite ☝️
For this tutorial I’ve used Android Studio 4.0 Preview but things should work on other versions of AS as well.
Project Setup ⚙️
First things first. We need to have the problem to solve the problem. In order to disable the status bar to go immersive in an app. Do the following:
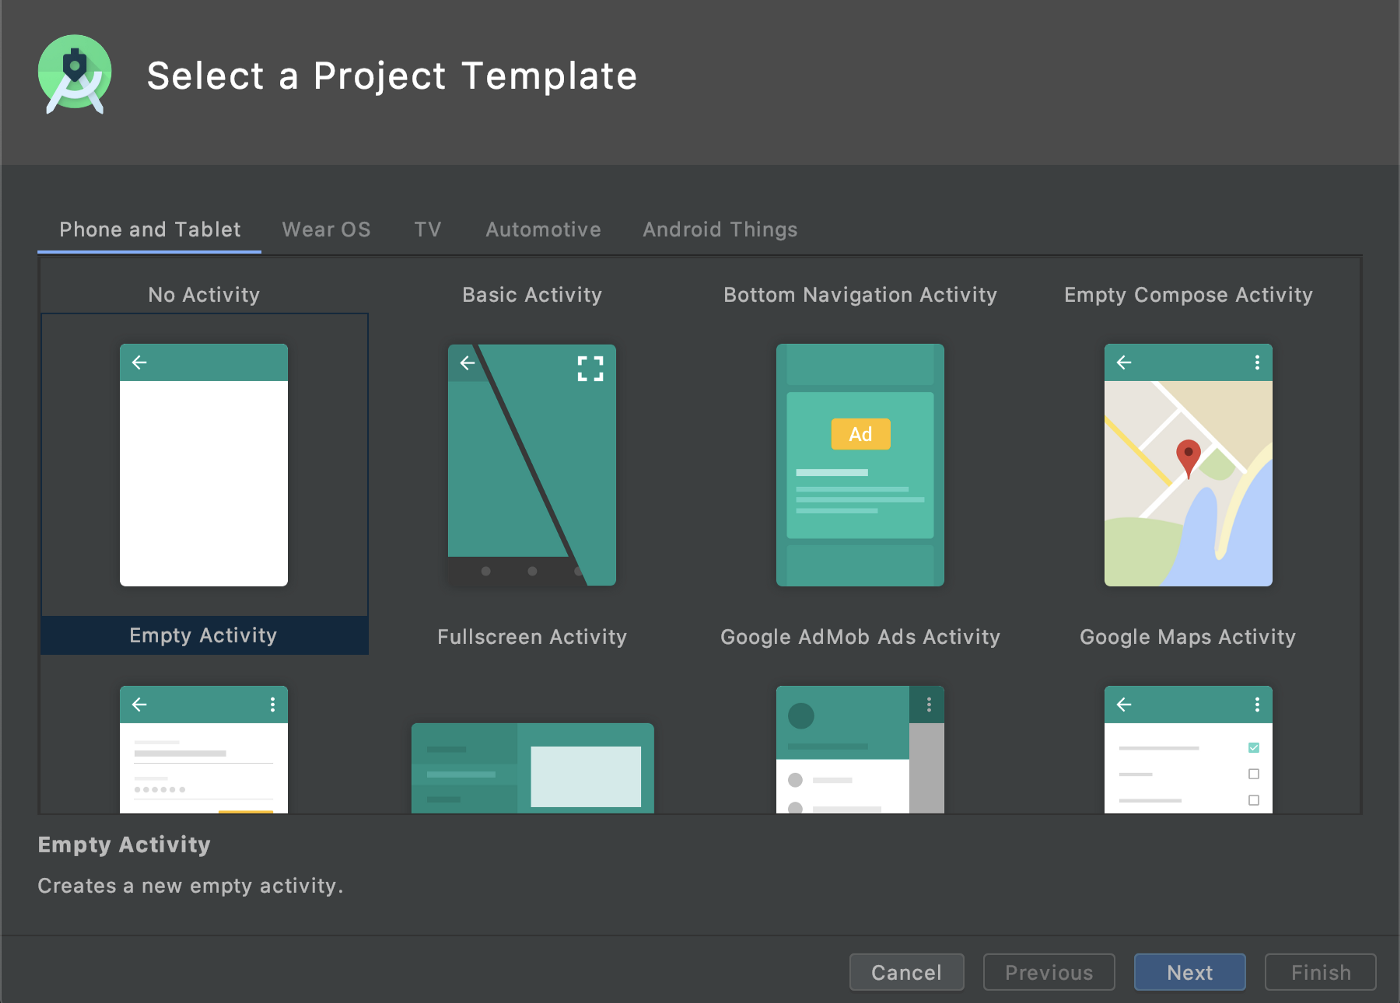
- Open a new project.
- Select an Empty Activity Project Template. This would create an empty screen with an Action Bar.
3. Type any name for the project and select Kotlin from the language
4. Click Finish.
5. Run the project to see the look of your initial app.
Material Dependency 😍
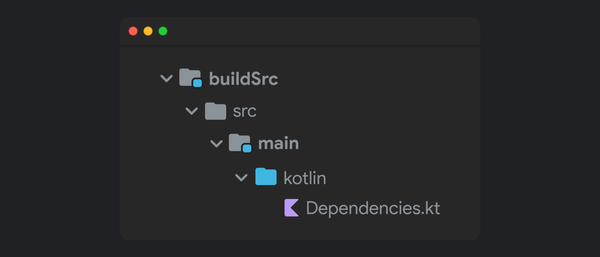
Since we need to style our app a bit, we need Android’s Material library which is not part of the app at the moment, so first thing is to add the Material library to our project. To do so:
- Open
build.gradle (Module) - Add this line in the dependency section:
Note: At the time of writing, the latest Material version was 1.1.0, but you can use any latest stable release you want from Google’s Maven Repository or MVN Repository.
3. Sync the project.
Adding a custom Toolbar 🖌
You must be thinking if we already have a toolbar set up, why add another. It is because the default toolbar that’s set up by the project is from a parent layout that we do not have a control of, so when we enable fullscreen on the app, the toolbar hides along with other system elements, but we want to have control over it in order to not hide it automatically. Here’s how to set it up:
- Open
styles.xml. - Replace your parent theme from
Theme.AppCompat.Light.DarkActionBartoTheme.MaterialComponents.NoActionBar.Bridge(running the app at this stage should not display any toolbar). - Open
activity_main.xml. - Add the following lines in place of the placeholder
TextViewto add a toolbar (running the app at this stage should display an empty toolbar).
5. Open MainActivity.kt.
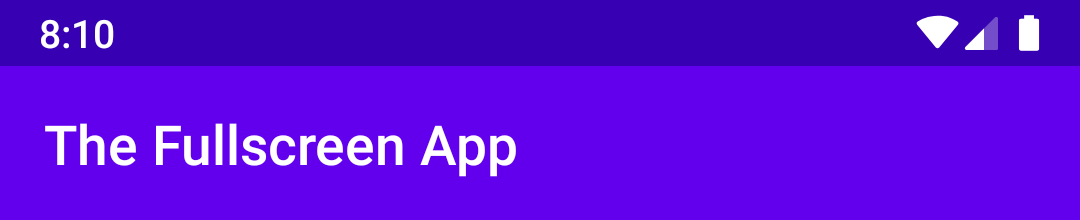
6. Add this line after setContentView() to setup our own toolbar and display the app title.
Enabling fullscreen 🌅
To enable fullscreen, we need to hide the top status bar and the bottom system navigation bar, to do so, Android Developer Guides has just the right doc for it: https://developer.android.com/training/system-ui/immersive:
- Open
styles.xml. - Add a new style below the
AppTheme:
3. Open AndroidManifest.xml.
4. In the MainActivity attributes, add the android:theme attribute with the style that you just created:
5. Now in your MainActivity.kt, add the following lines:
6. Run the app and you’re good to go!
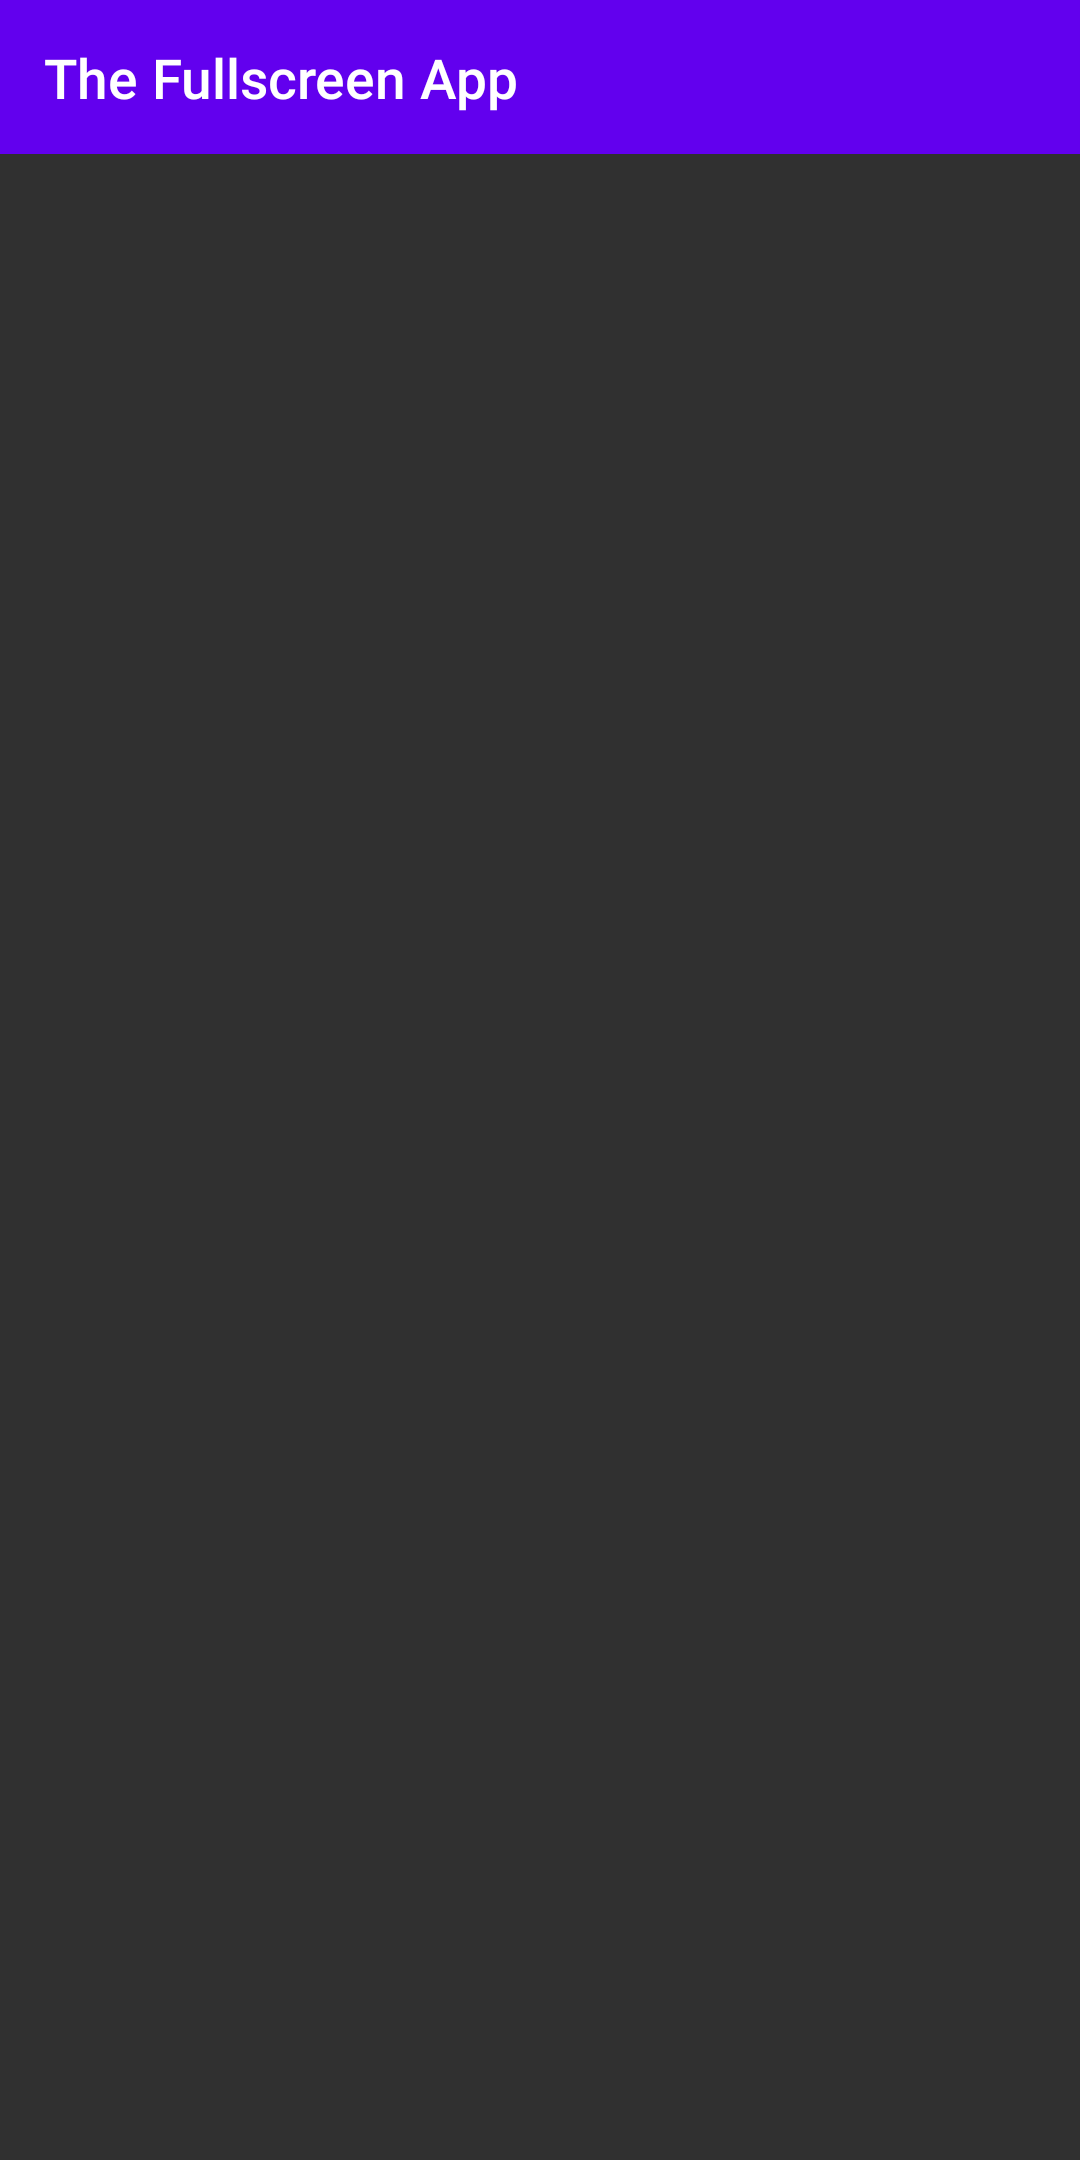
Except that you’re not.
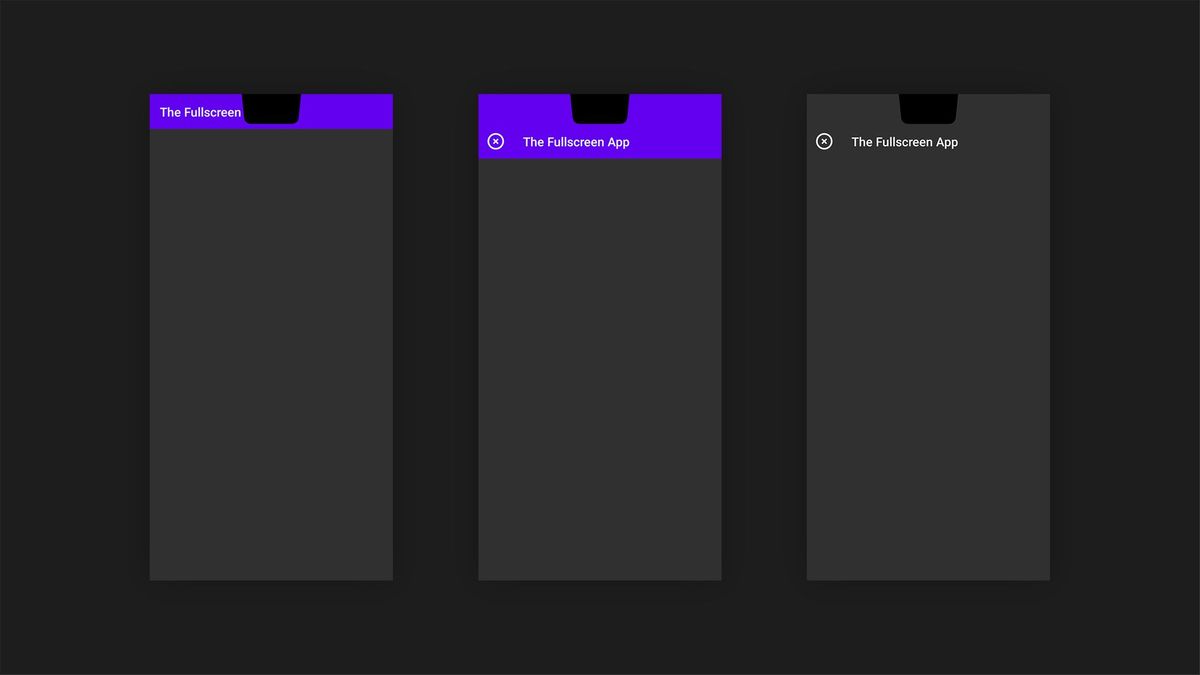
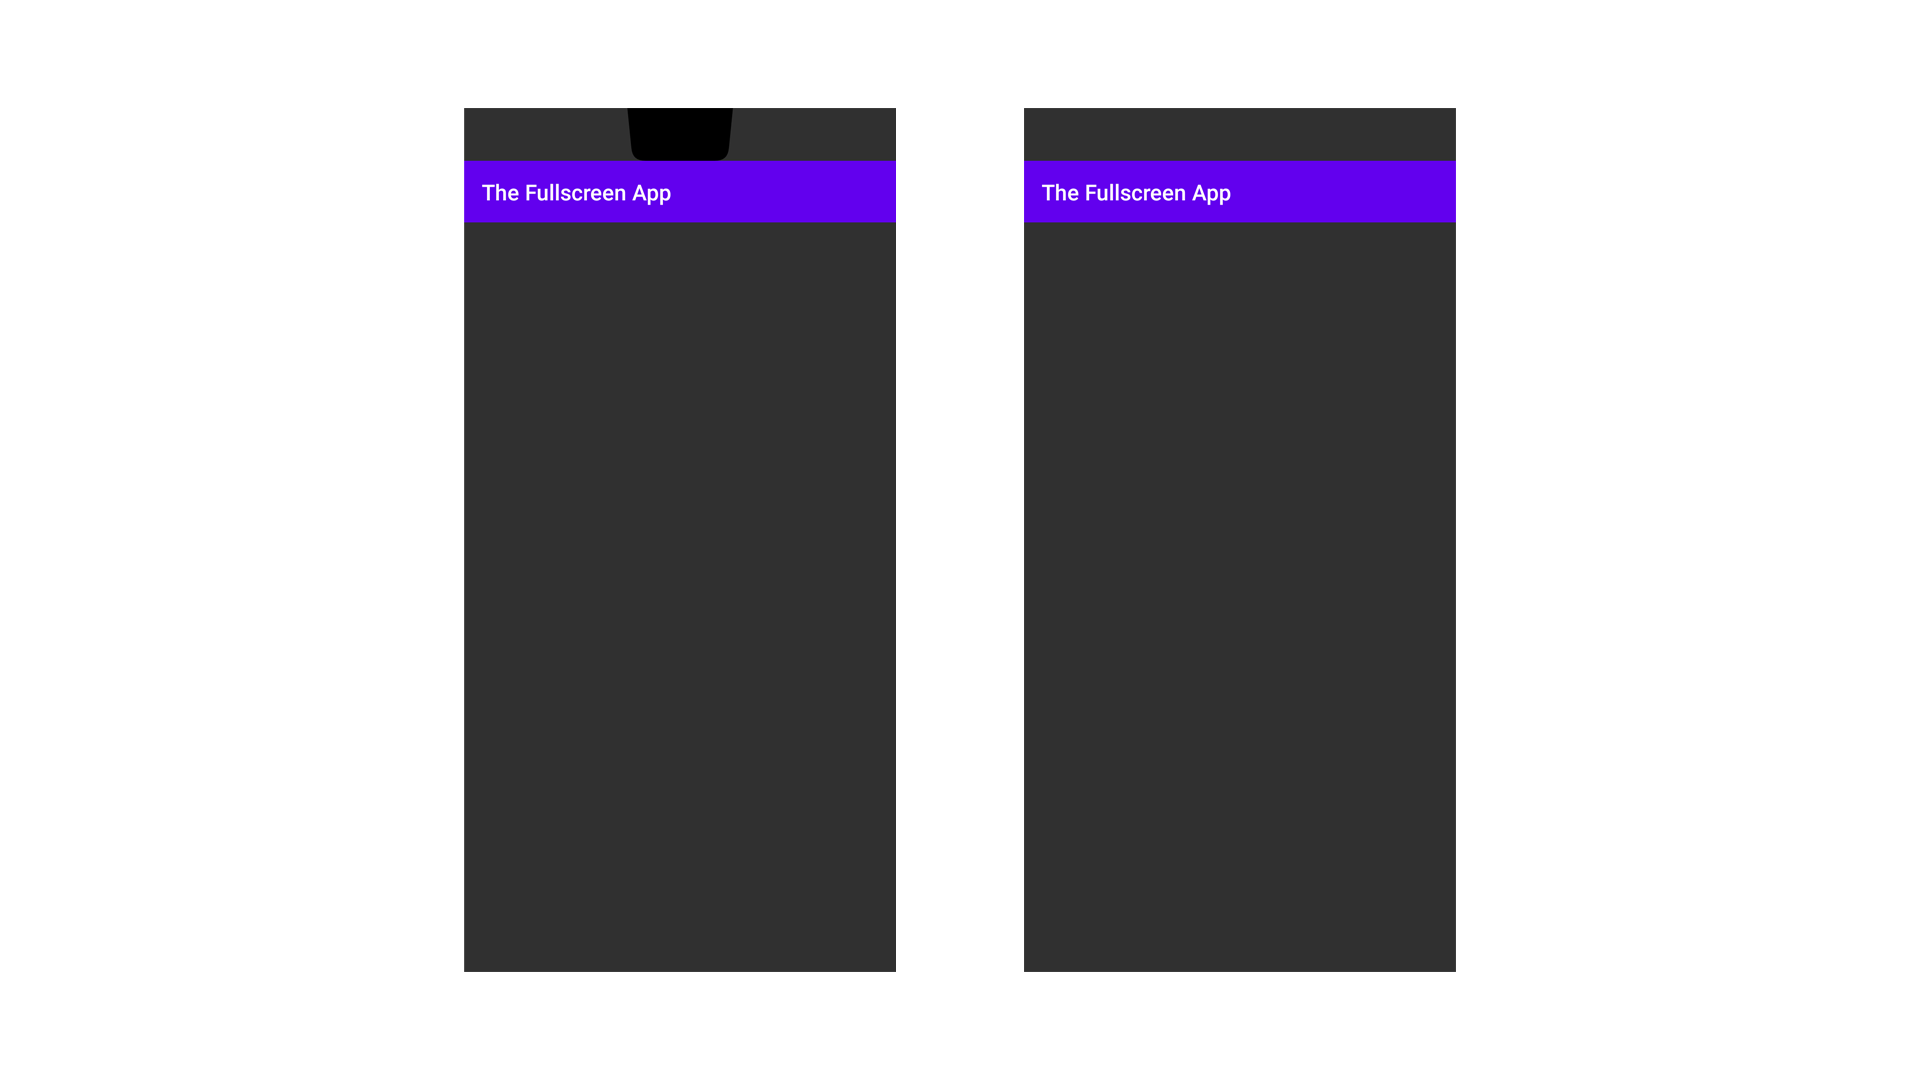
If you run the app at this moment on a device with a notch / cutout display, you’d notice that the toolbar is hidden by the notch:
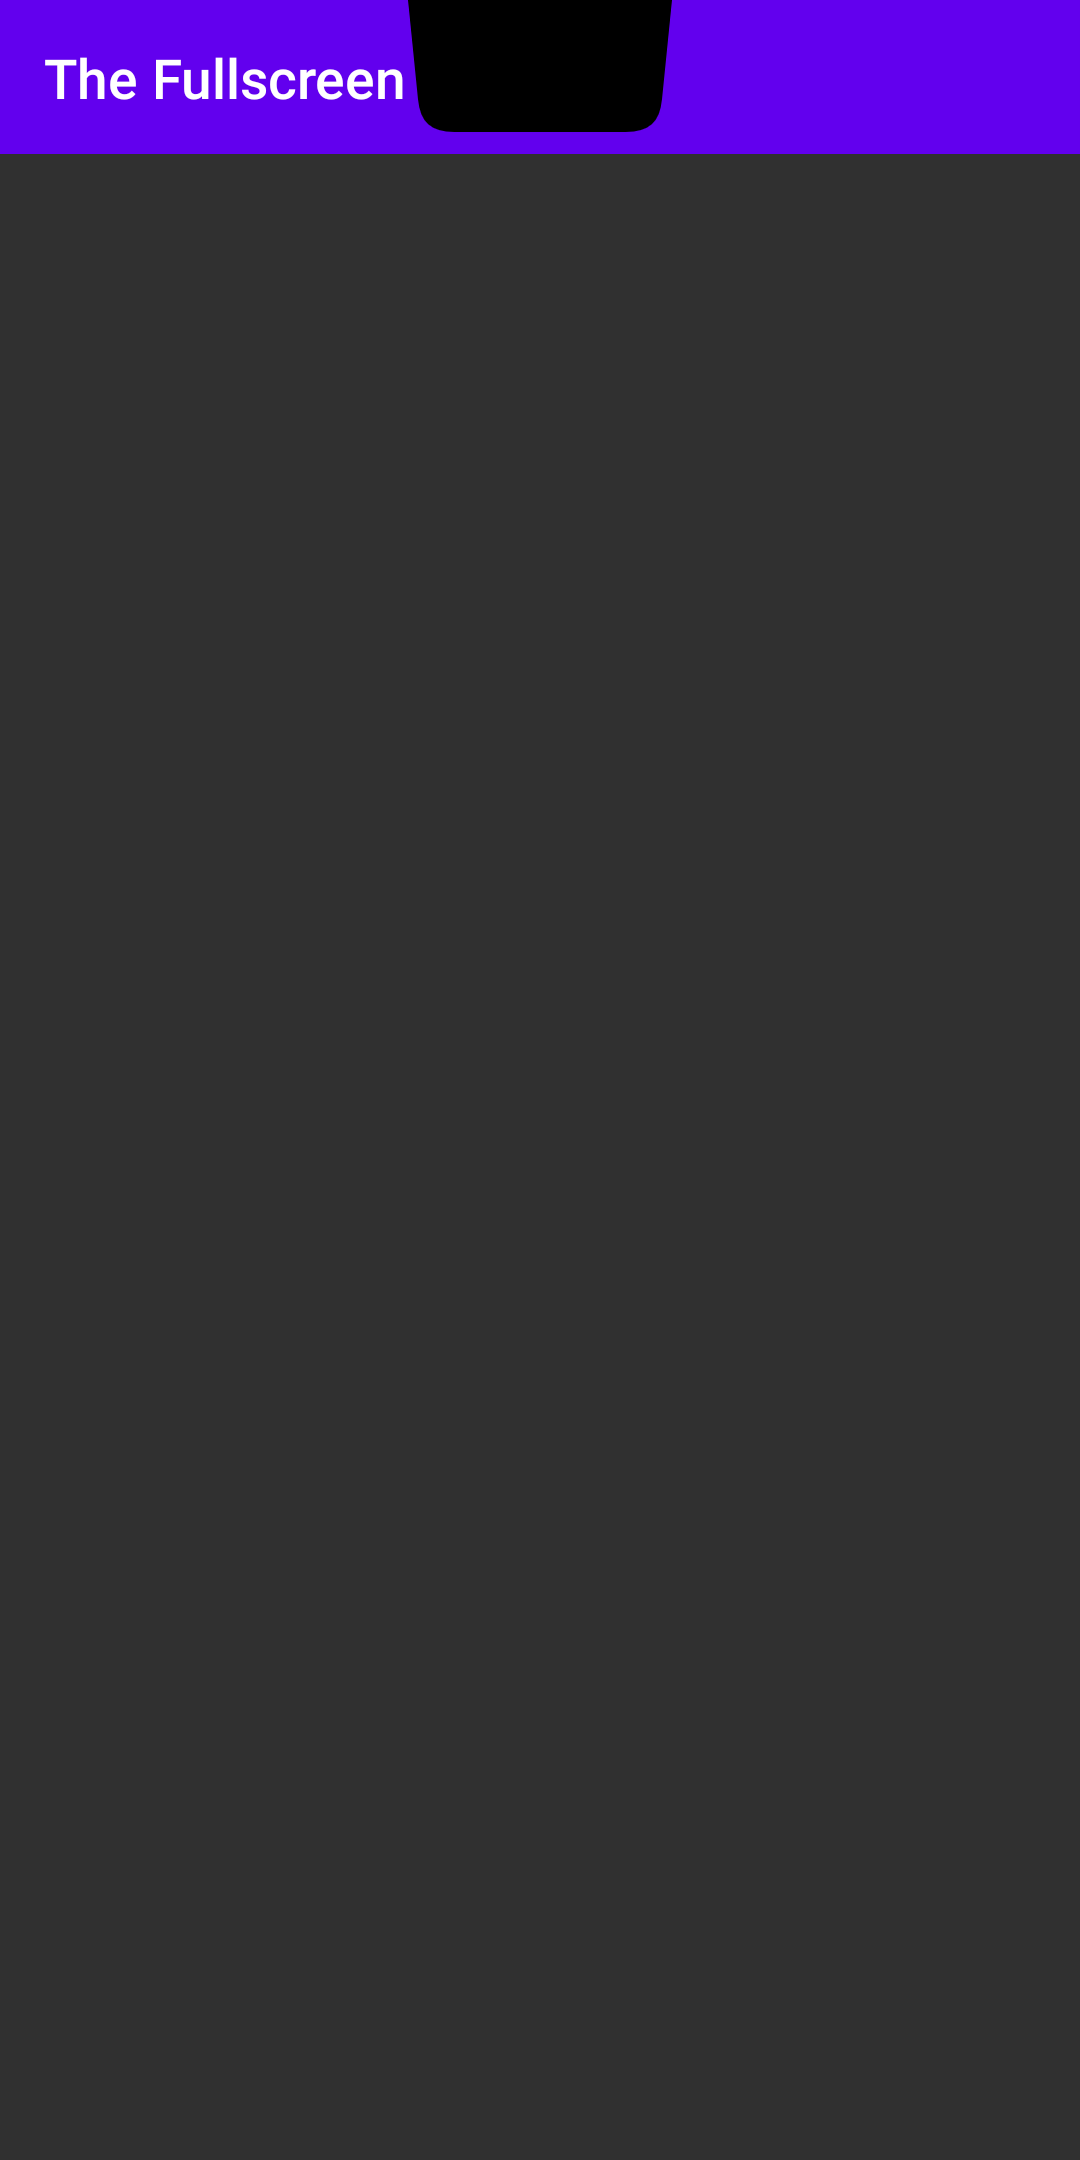
And that’s the problem this story is all about.
The Fix 🔧
Approach I:
In order to solve the issue, the first approach you might be thinking to take it to simply add padding to the toolbar to position it below the notch. But since we have different heights of the notch on different devices, we can’t hardcode a constant value (for instance, 24dp or 48dp) in order to add a margin on top of the toolbar.
But there must be a way the height of the status bar is set by the system, you must think. Yes there is, and you access it by @android:dimen/status_bar_height but since that’s a private value, adding a android:layout_marginTop="@android:dimen/status_bar_height" to your toolbar throws a build error:
AAPT: error: resource android:dimen/status_bar_height is private.
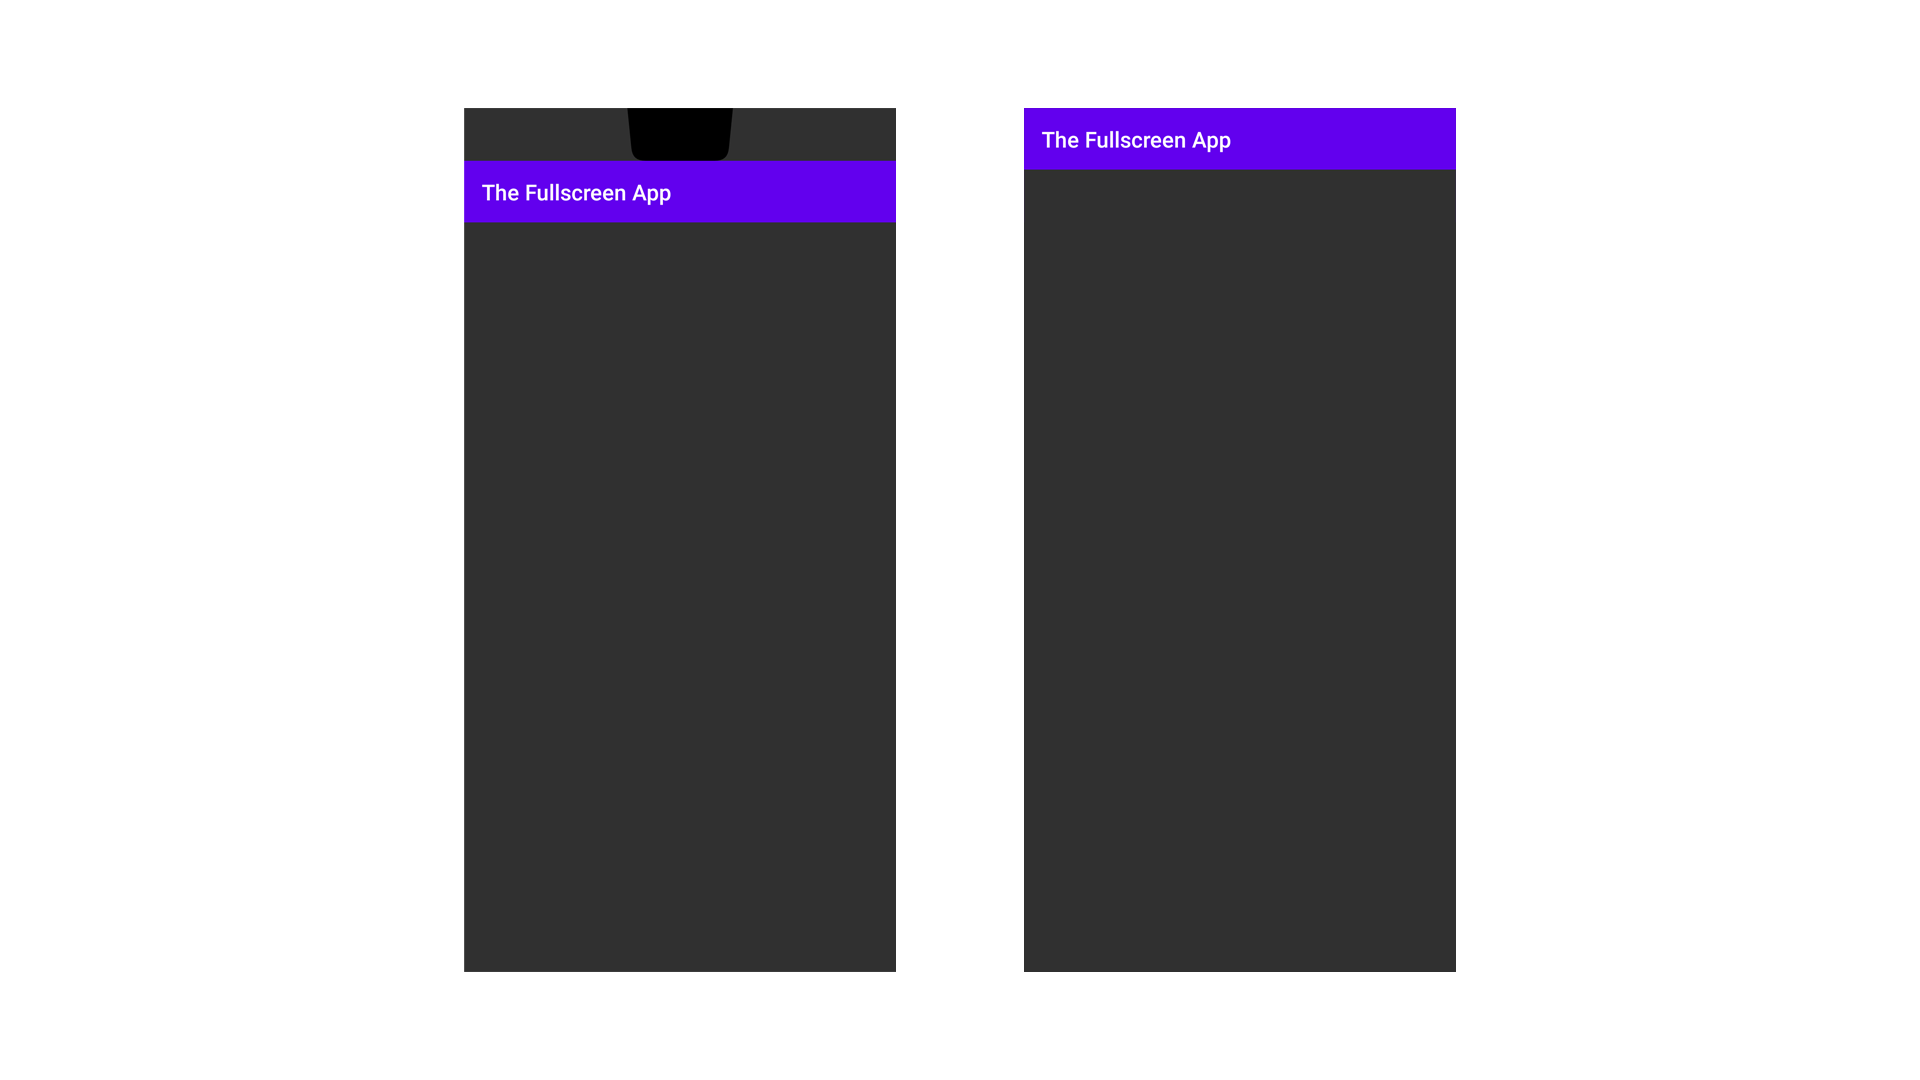
And even if you did add a constant value, it might work for the notch but not for no-notch devices:
Approach II and the magic: 🎩
The approach that I had to take to solve this issue is to simply work on it programmatically: to add padding only when needed. And since Google has a few new APIs to deal with the notch, achieving this hack is quite easy:
- In your
MainActivity.kt, add a new method:
2. Call this method just right below hideSystemUIAndNavigation(this) in onWindowFocusChanged to let the change affect when we hide the system UIs.
Note: Since some of the methods that we call here are quite new to the Google APIs (for instance, rootViewInsets, displayCutout, etc), they’re only supported by Android 9. And since the notch is quite a new trend in devices, all the new devices with the notch do run Android ≥ 9, so we’re all good here. 👌
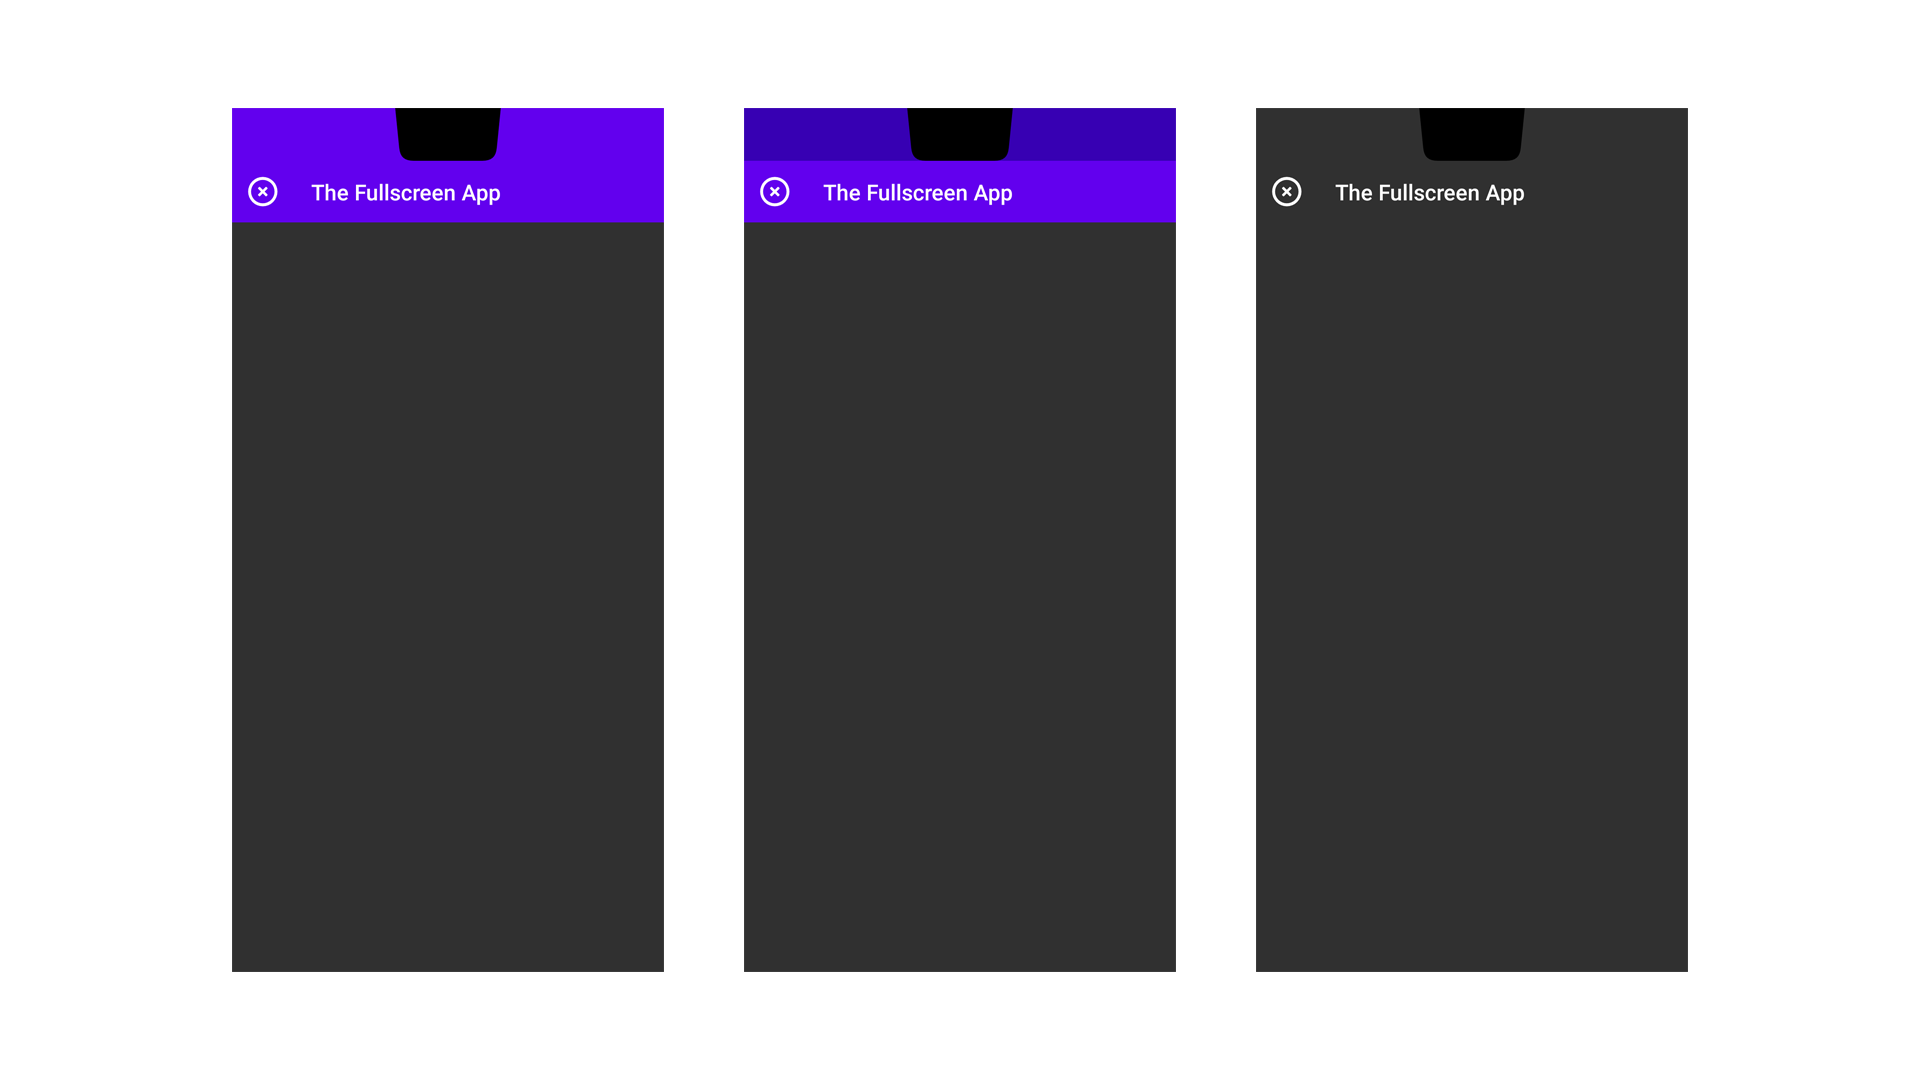
If you run the app now, you see that the margin is only added when we do have a notch:
Extra: Styling 🎨
So far so good, we just need to add some style to the empty area or extend our toolbar to the top to make it not look very odd. To do so:
- In your
activity_main.xml, add a new view with a size of the toolbar (?attr/actionBarSize) on top of toolbar, like:
2. Run the app to see the changes.
And so, you can play around with the background of the view and/or the toolbar to adjust the style according to your taste:
Happy coding! 💻
Source code for the Final Version
 waseefakhtar
As always, let me know if my tutorial helped you in anyway and the things I can improve in writing tutorials by sending a DM or a Tweet at: twitter.com/waseefakhtar ✌️
TL;DR
Android Tip: When enabling fullscreen, adjust toolbar margin for cutout displays with this easy hack below 👇#AndroidDev #100DaysOfCode #Android #Kotlin #KotlinTips pic.twitter.com/v0RkcSG875
— Waseef Akhtar (@waseefakhtar) June 9, 2020