Android MotionLayout: Creating the Twitter splash screen in the simplest way possible (Part II)
I received questions on social media about this one action several times, which is about how to move to next screen after our animation is complete. I thought it’d be easy to figure out on your own but when I looked around, I figured that there aren’t very many resources for MotionLayout yet.

I didn’t plan to write this at first since my last tutorial covers pretty much everything about MotionLayout I intended to write about.
But..
I received questions on social media about this one action several times, which is about how to move to next screen after our animation is complete. I thought it’d be easy to figure out on your own but when I looked around, I figured that there aren’t very many resources for MotionLayout yet.
Also, my last tutorial is a bit long to follow for beginners (I tend to keep beginners in mind when writing blog posts and make it as detailed as possible for them to understand since I’ve noted that experienced developers tend to skim through a tutorial to find the information they’re looking for anyway. So it’s a win-win) 😉
So without further ado, let’s jump right in.
Recap
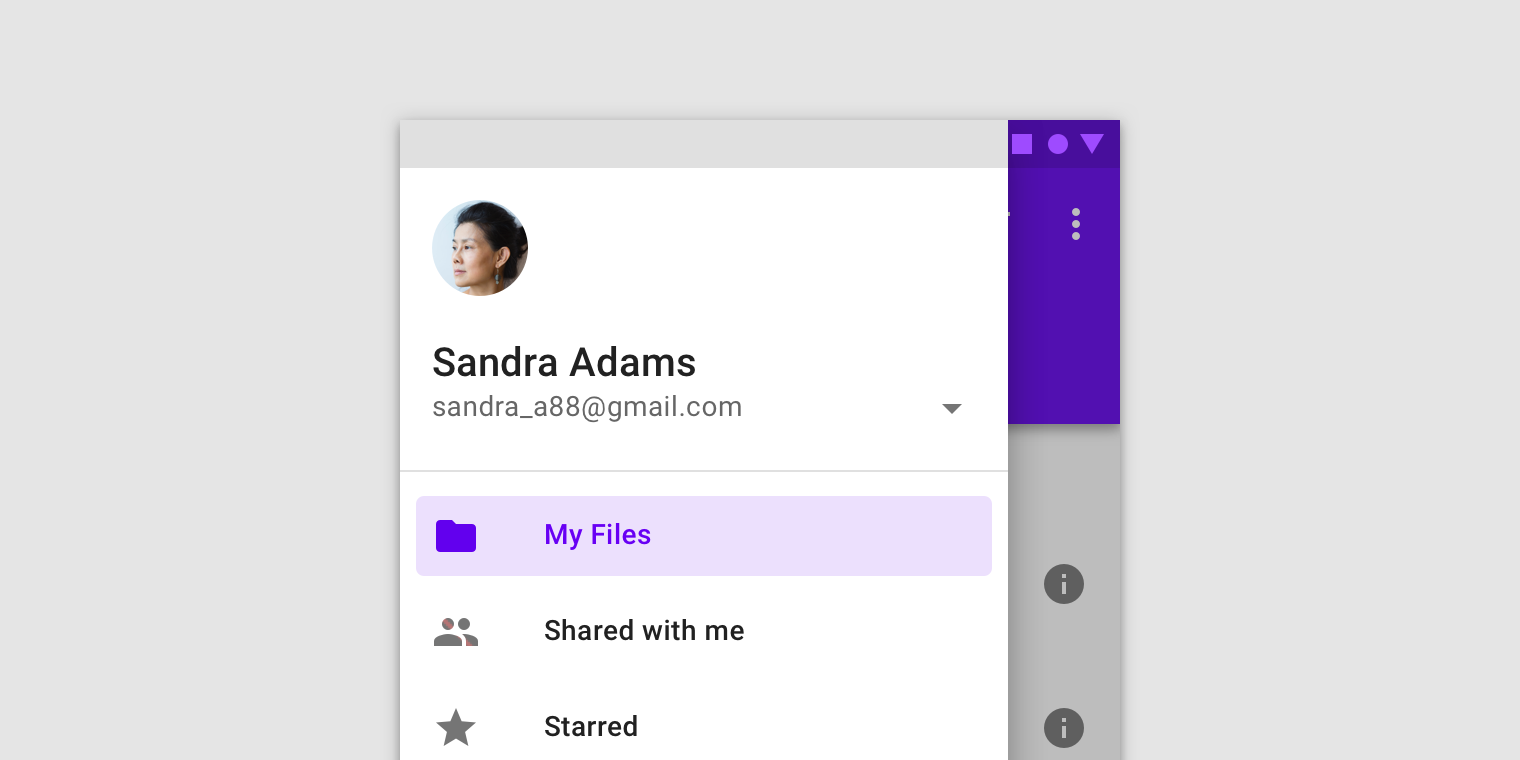
If you’ve followed my last tutorial (which is the main tutorial on how MotionLayout works), you’d have a screen looking like this: 👇

Previous Post
 Waseef Akhtar
The animation currently does not have an end and it loops back and forth through the animation. But for moving to the next screen, we need to have an end to our transition.
Disable Animation Loop 🔁
In order to move to the next activity, we need to make one tiny change to our motion; that is to stop the reverse loop and make it animate only once, to do so:
- Open
activity_main_scene.xml - Add the following property in your
OnClicktag:
Note: Running at this stage will trigger the forward animation, but not the reverse animation.
New Activity 🖼
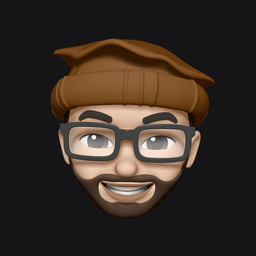
Next, we need a new activity that the current activity moves to once the motion is completed, for that;
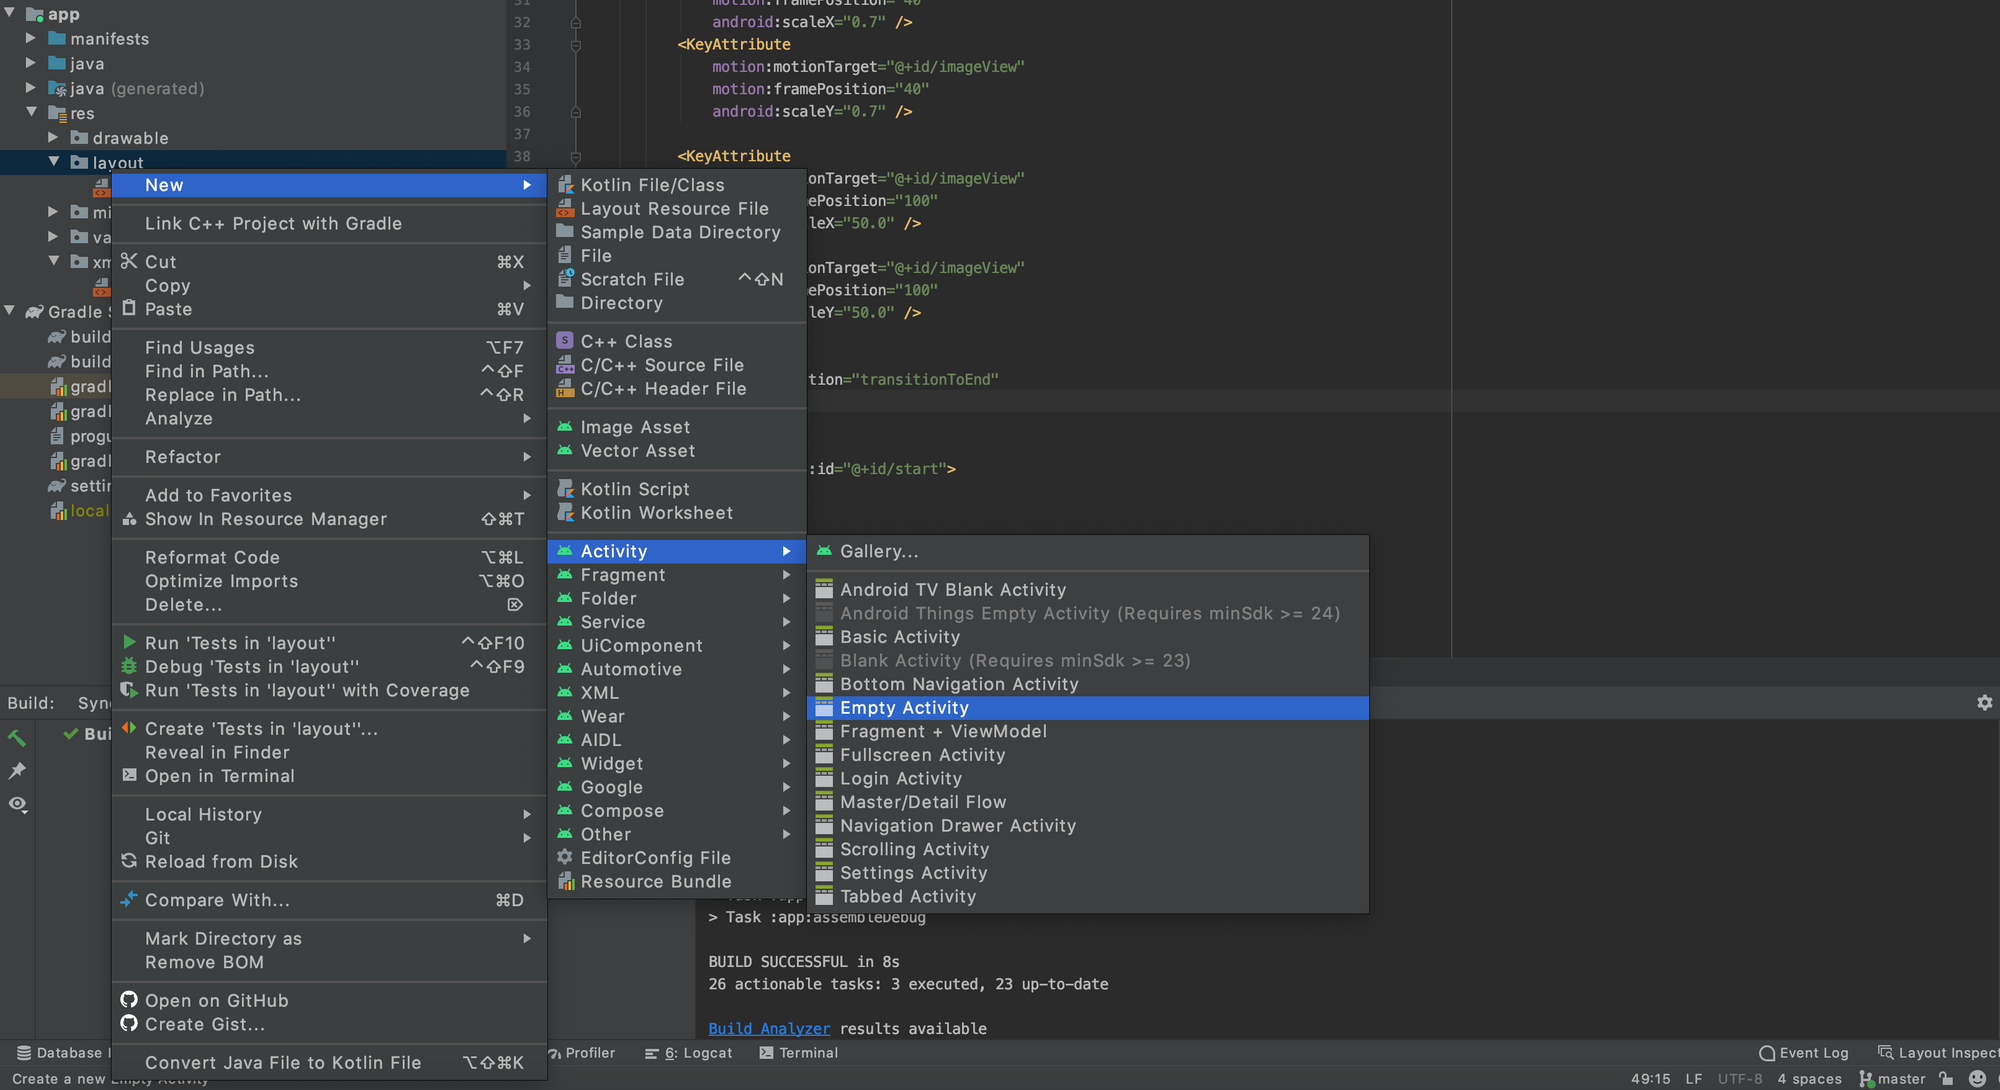
- Create a new blank activity and name it SecondActivity:
- Open
activity_second.xml. - Change the activity’s background color to white:
- Create a new
TextViewand write anything that you like (so we know that the screen is actually moved to a new screen).
You’ll now have an activity looking like this:
The Magic 🎩
We want to move to next activity only when the motion ends. In order to figure out when it does, we need some kind of listener on our MotionLayout to let us know about the states our motion goes through (for instance, start, resume, pause, end).
Turns out, MotionLayout already has a built-in listener that can help us listen 👂 to the motion states as it performs.
To implement that:
- Open
activity_main.xml. - Create an ID for the MotionLayout (which helps us reference it in our MainActivity class), like so:
- Open
MainActivity.kt. - Add the following lines in your
onCreatejust before the closing curly bracket:
Note: What we accomplish here is that we first set a listener on our motionLayout to know each state of our transition. Then, on transition completed, we callstartActivityto call the new activity we created.
Since we want to move to next activity only when the motion is finished, we’re callingstartActivityinonEndand not in any other state methods.
Run the app and see the new action!

Looks great so far, but we’re not entirely there yet. Why you ask? Here are some things to fix:
- In the animation above, notice that the next activity does not give the feeling of fading into the next screen because our activity starts with a slide up transition.
- While in second activity, if we press the back button, our activity moves back to our Splash screen, and we never want that to happen.
The Fix 🔧
Fixing the starting activity transition
To fix this issue, I’d like to keep it simple for the tutorial by just overriding the windowAnimationStyle. To do so:
- Open
styles.xml. - Create a new
WindowAnimationStyleand set it in your baseAppTheme, like so:
Avoid going back to splash screen
In order to fix this issue:
- Open
AndroidManifest.xml. - In your
MainActivityactivity tag, set anandroid:noHistoryattribute to true, like so:
Running the app at this stage solves both the previous issues:

And that’s pretty much it for this post!
Bonus 🎈
If you’d like to get rid of the click on image to trigger animation and let it auto transition when the app starts, do the following:
- Open
activity_main_scene.xml. - Remove the
OnClicktag from theTransitiontag. - Add a new attribute in your transition tag:
motion:autoTransition="animateToEnd"
You’ll now have your XML looking like this:
Happy coding! 💻
Update (Aug 2020):
I got some bug reports in responses below as well as Twitter DMs that the splash screen navigates to the next one before the animation finishes because of an issue with TransitionListener.
This has been an issue from 2.0.0-beta5 onwards. In order to fix it, make sure it update your constraintlayout to 2.0.0-rc1.
Source code for the Final Version
 waseefakhtar
Have something to say? Leave me comments on Twitter, retweet, like or follow: ✌️
I just published "Android MotionLayout: Creating the Twitter splash screen in the simplest way possible (Part II)" https://t.co/JY0SAbTfTC#AndroidDev #Kotlin #MotionLayout #100DaysOfCode
— Waseef Akhtar (@waseefakhtar) June 17, 2020
If you enjoyed this, you might also be interested in other stories that I recently published:
Waseef Akhtar