Jetpack Compose: An easy way to RecyclerView (Part I)
If you're new to Jetpack Compose and looking at all the cool UI screens and animations around the internet like me, you're probably a bit overwhelmed but also curious about how things work in compose.


If you're new to Jetpack Compose and looking at all the cool UI screens and animations around the internet like me, you're probably a bit overwhelmed but also curious about how things work in compose.
Since I'm new to learning Jetpack Compose like most of you, the recent #AndroidDevChallenge was a good opportunity for me to get my hands dirty and write some Jetpack Compose UIs. Since I learnt tons of stuff with a basic app, I thought my learnings would make a good series of blog posts to help all of you.
With this series of blog posts, we'll create a basic app by showing a list of puppies for adoption, styling our app overall, and implementing a detailed view screen for each puppy.
In case you’re not fond of reading blog posts, I’ve also turned this 4-part Jetpack Compose series into a 13-minute speed code video with some laid back music for you to watch and relax to!
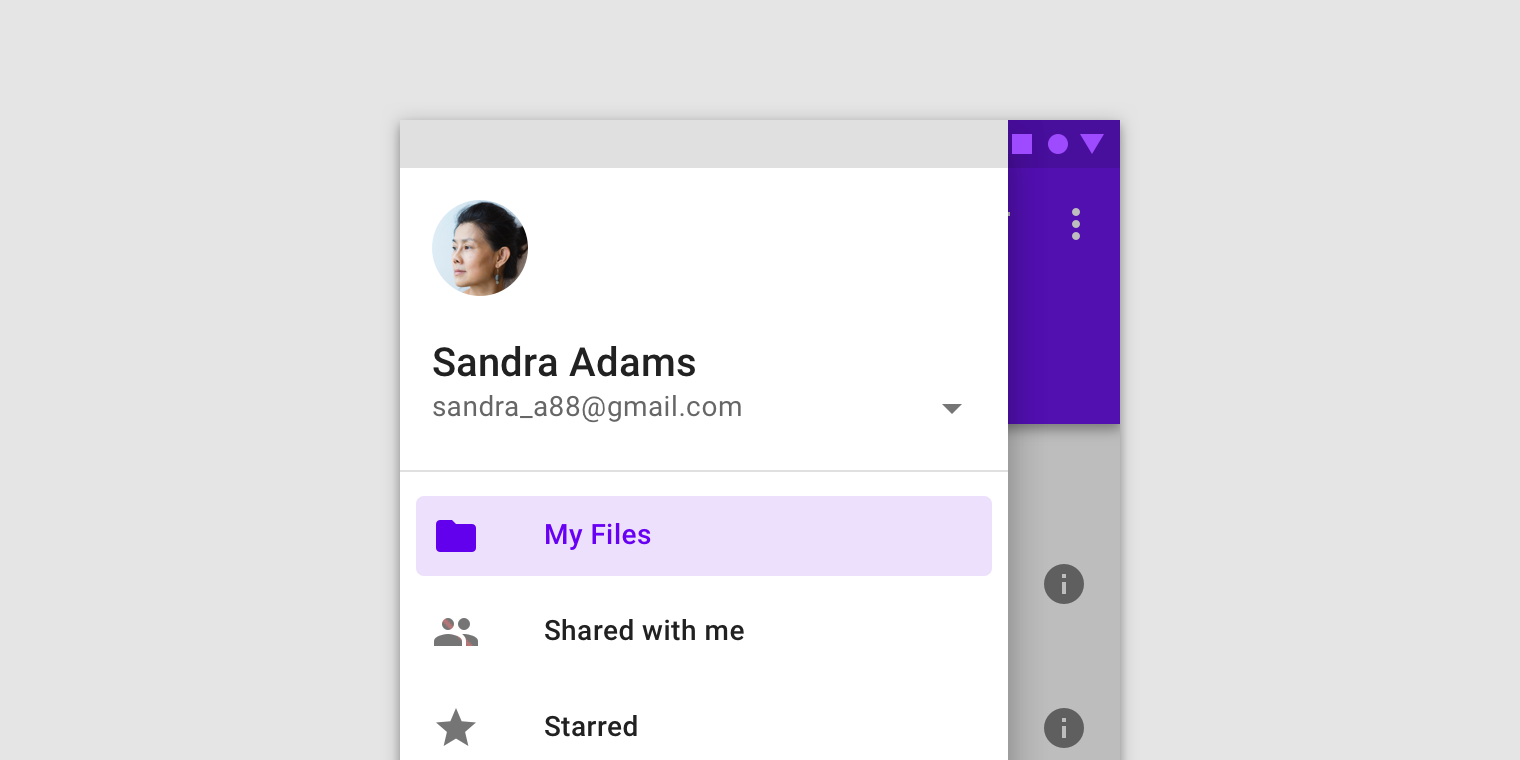
By the end of the series of posts, we would've achieved our app looking like this:
So without further ado, let's get started!
Background ✍️
- Jetpack Compose is a newly announced UI toolkit for building native UIs for Android using Kotlin that is going to very soon replace the current approach of building UIs with XML.
- It is written from the ground up in Kotlin.
- It simplifies UI development on Android with less code and powerful tools.
- Learn more at https://developer.android.com/jetpack/compose
Prerequisite ☝️
Since Jetpack Compose is not currently fully supported by stable Android Studio at the moment, for this tutorial, I’ve used Android Studio 2020.3.1 Canary 14 but I believe that the steps I give would work quite fine on newer and more stable AS versions as they start supporting Jetpack Compose.
Project Setup ⚙️
To get things started, here’s what you do:
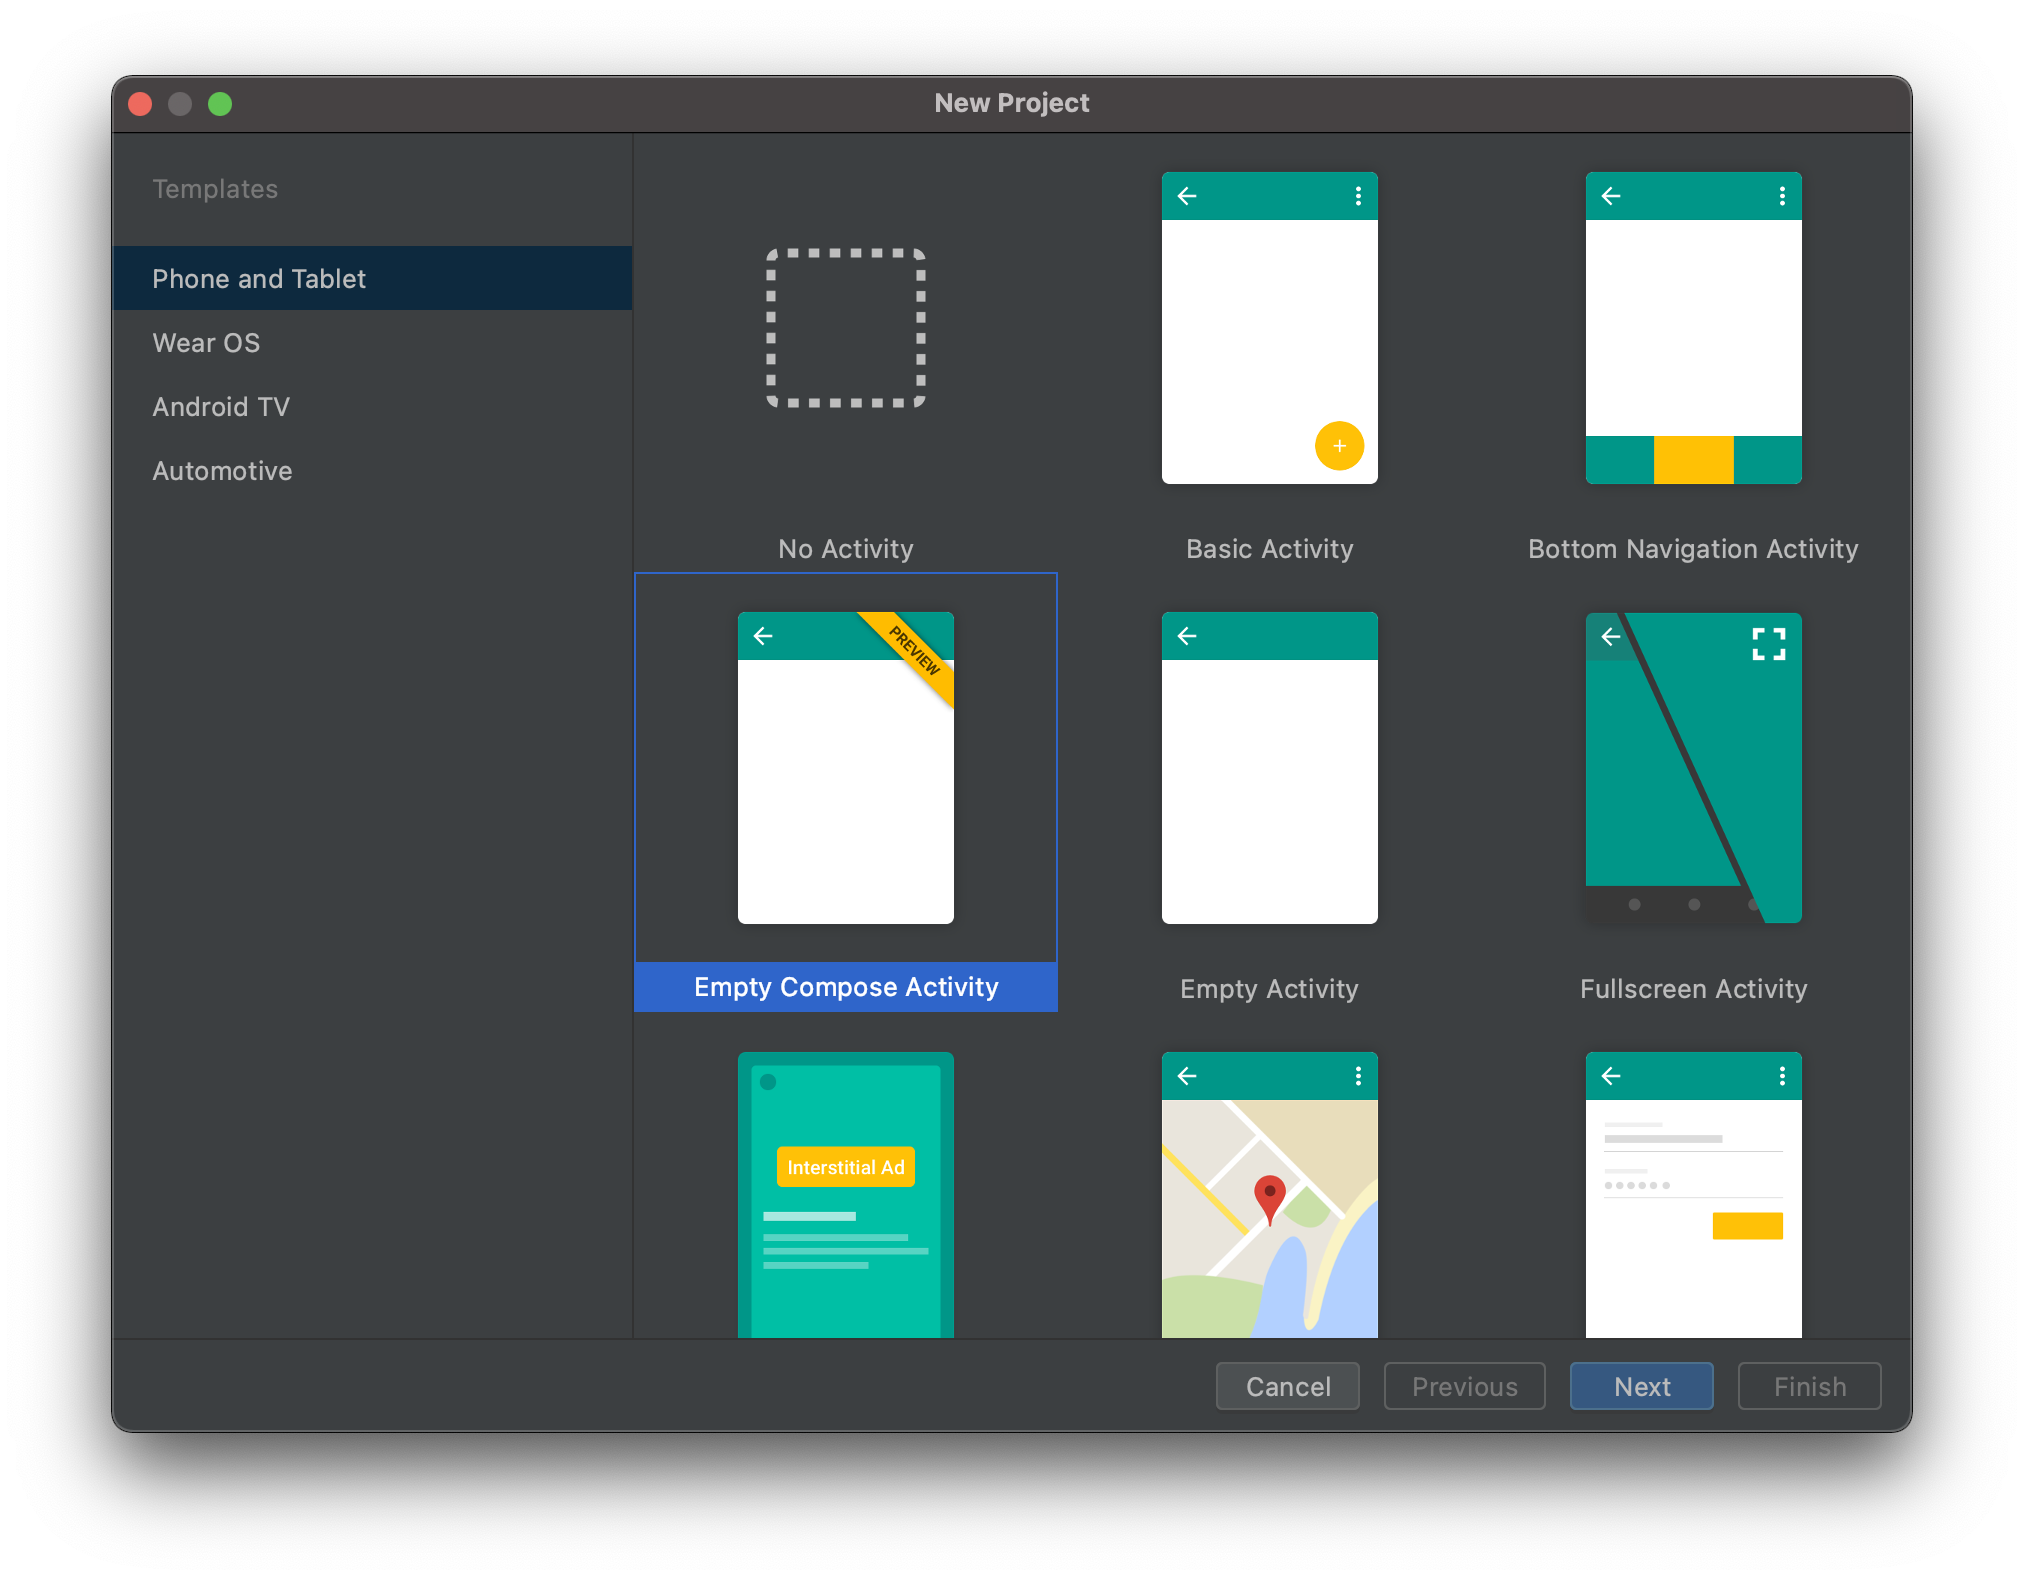
- Open a new project.
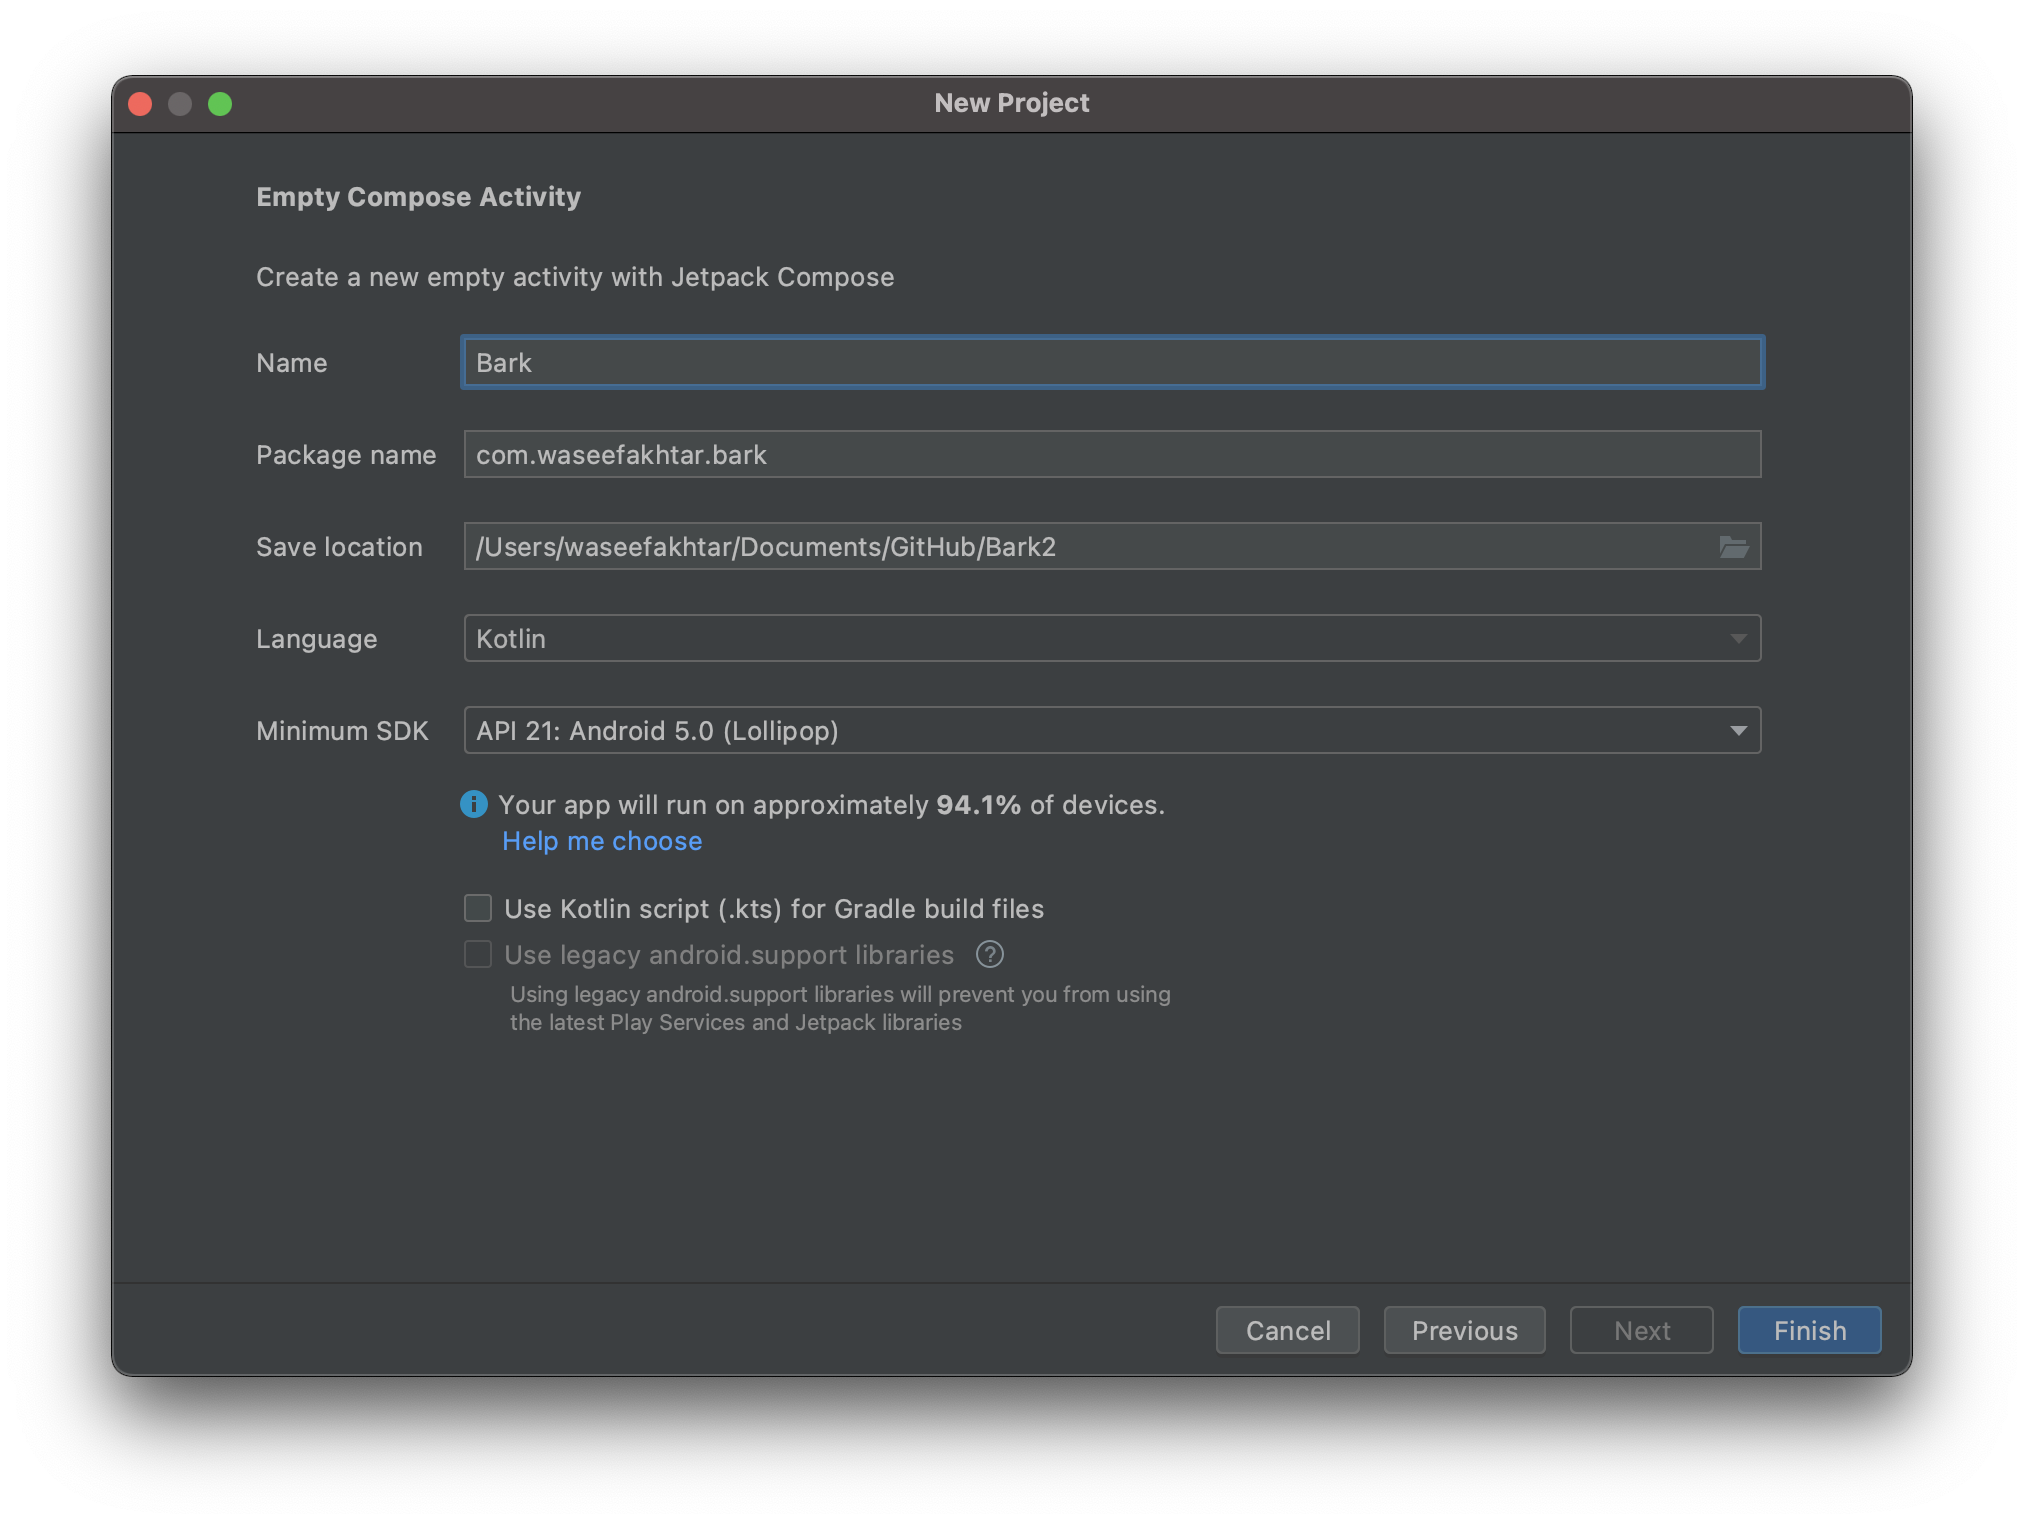
- Select an Empty Compose Activity Project Template and give your app a name. This would create an empty Android project.
Running the project 🏃♂️
Before we start writing our first line of Jetpack Compose code, let's run our current project set up by AS for us. Since we're using unstable/preview versions of Jetpack Compose and AS, chances are, there are some unknown issues that you might encounter along the way. So it's always a good idea to run your project after each change.
In my case here, after running the project for the first time, I ran into this:
An exception occurred applying plugin request [id: 'com.android.application']
> Failed to apply plugin 'com.android.internal.application'.
   > com.android.builder.errors.EvalIssueException: The option 'android.enableBuildCache' is deprecated.
     The current default is 'false'.
     It was removed in version 7.0 of the Android Gradle plugin.
     The Android-specific build caches were superseded by the Gradle build cache (https://docs.gradle.org/current/userguide/build_cache.html).

* Try:
Run with --stacktrace option to get the stack trace. Run with --info or --debug option to get more log output. Run with --scan to get full insights.
In order to solve it:
- Open
gradle.properties. - Remove the line
android.enableBuildCache=true.
Upon running the project again, you should see a sample Compose app that AS has built for us.
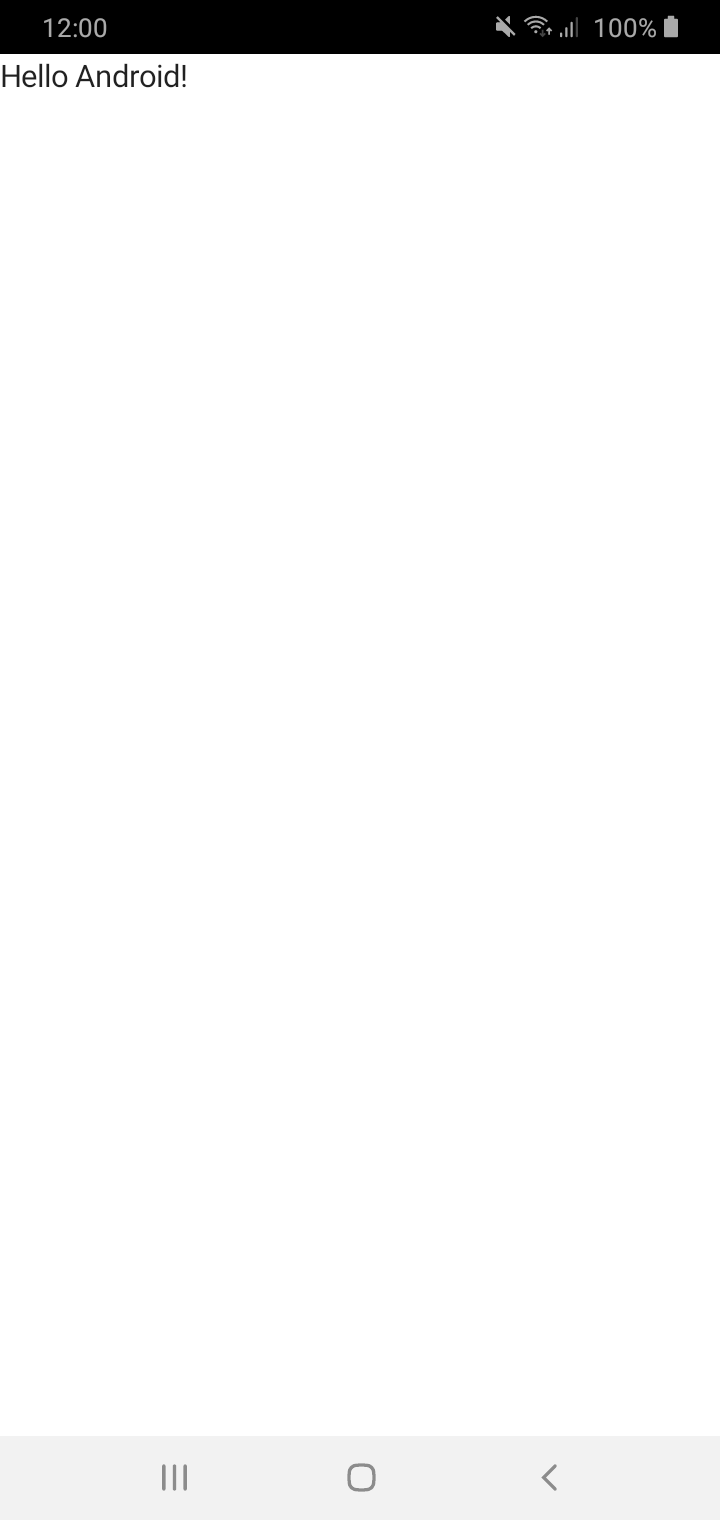
Upon a successful run, we're now ready to get our hands dirty!
Writing our first line of Compose ✨
In order to start writing our app, we need to first structure our app to what I call Jetpack Compose conventions since I've often seen it as a common structure among Google Codelabs.
First things first:
- Open
MainActivity.kt. - Create a new composable function under your
MainActivityclass.
3. Import Scaffold into your file if it's not imported automatically and is shown as an unresolved reference.
What is Scaffold? 🤔
If you read Scaffold's definition, it is mentioned that Scaffold implements the basic material design visual layout structure in Compose. So it's generally a good idea to start your screen structure with Android's own visual layout structure.
4. Replace your sample Hello World greeting by calling MyApp() inside onCreate.
Next, we need to write our content that we added to our Scaffold's content parameter, BarkHomeContent().
But first, we do know that we need to display a list of puppies with some sort of detail for each puppy and perhaps a picture to go along with it. In order to do so, we need to create a Data class that holds information for each puppy and a Data Provider that provides us with a list of puppies in their correct structure to be displayed in our list.
Setting puppies for adoption 🐶
In a real scenario, our data would generally be provided by a backend through some sort of RESTful API that we need to work with asynchronously and write a different flow for. But for learning purposes, we're going to fake our data and write all our puppies information and add their pictures in our app itself.
In order to do so:
- Create a new class called
Puppy.kt. - Write a data class with fields of all the properties that we're going to have in order to populate our list items with:
Next, we're going to add some cute pictures of puppies to add it for each puppies. To make your life easier, feel free to download the set of photos from my GitHub project here:
 waseefakhtar
After downloading,
- Select all the files.
- Copy the files.
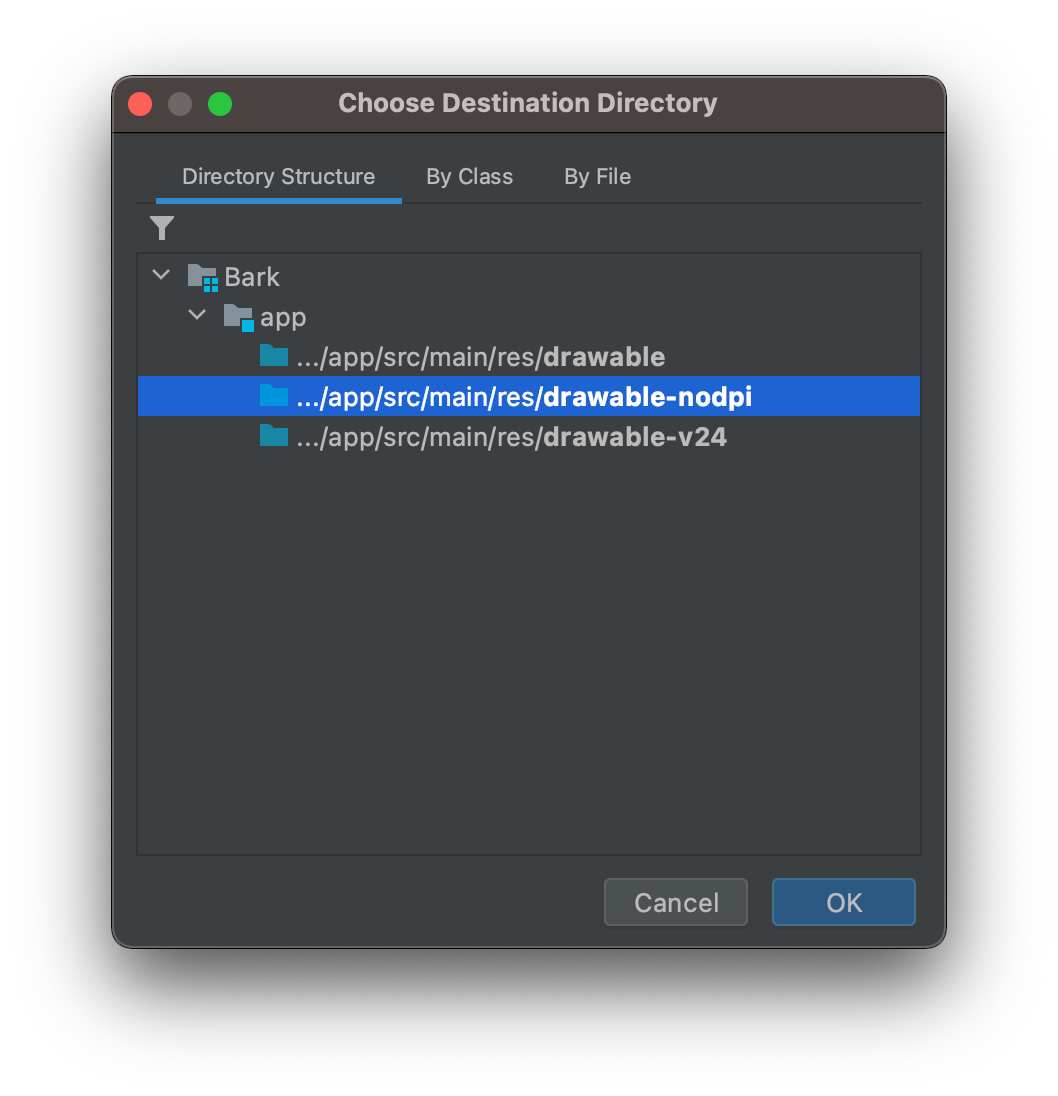
- In Android Studio, under /res, select /drawable and paste all your files.
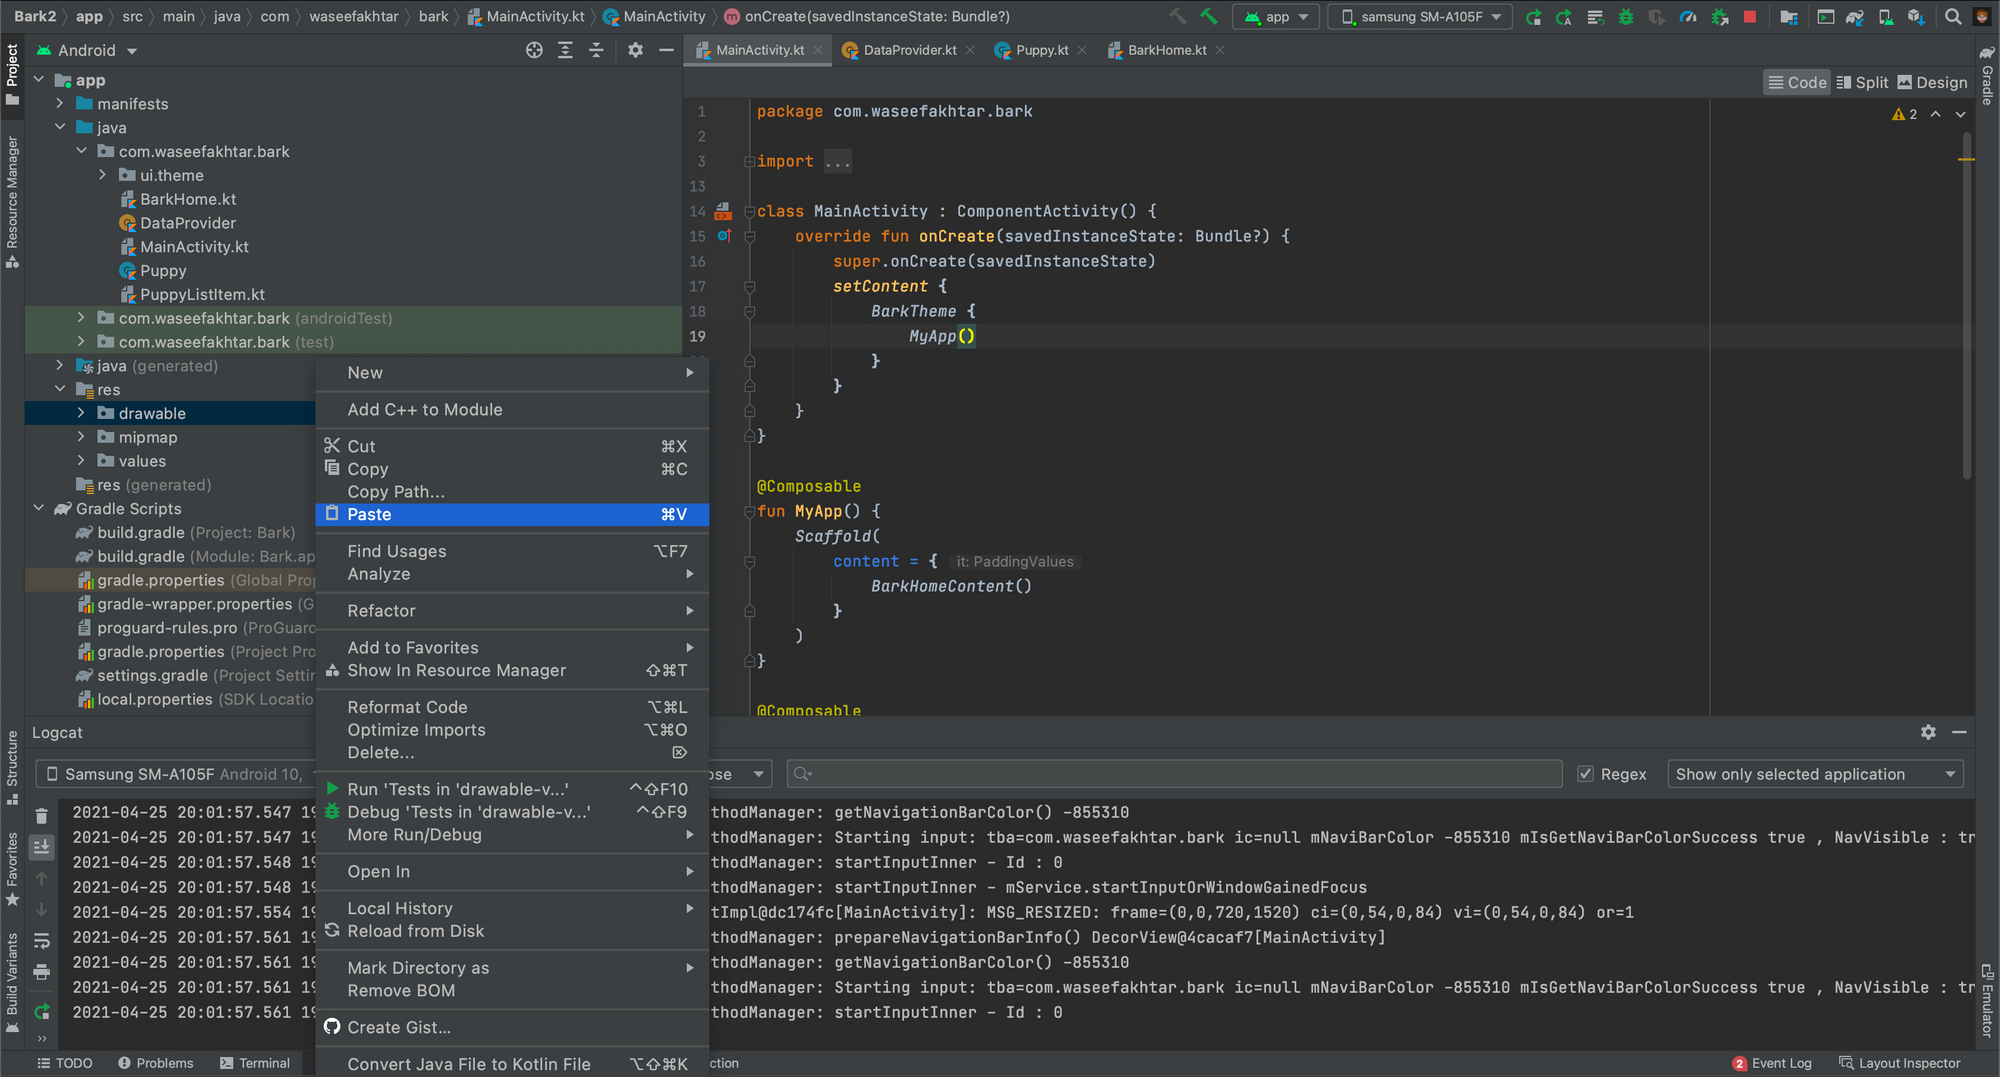
- When prompted with the dialog asking for which directory to add them to, select
drawable-nodpi. (If you can't see it, you can manually create the directory under /res or just paste your files inside /drawable)
Now we're finally going to write out DataProvider class to structure our data for the list.
- Create a new class called
DataProvider.kt. - Write an object declaration and create a list with information about each puppy. (Feel free to copy all the text to save your time building the app)
And we're done getting our puppies ready for adoption. 🐶
Displaying Puppies in a list 📝
Now, going back to where we left off when calling BarkHomeContent() inside MyApp(), we're finally going to create a list item and populate our list with the data we just created.
First things first,
- Create a new class called
BarkHome.kt. - Add the composable function,
BarkHomeContent(), inside the new class.
3. Import all the missing references.
Note: You might notice that at this point, you might have a different version of items function that we need, considering that the parameter items = is not resolved. In that case, you need to manually import the reference for it at the top of class: import androidx.compose.foundation.lazy.items.
Now, there's quite a bit going on here, let's explain it one by one.
- On line 3, we define a
puppiesvariable but with aremember { }keyword. A remember function in a composable function simply stores the current state of the variable (in our case, thepuppiesvariable) when the state of the list changes. This would be quite useful in a real-life scenario where the list changes from the back-end or from user events if we have any UI elements that let users change the state of the list. In our current case, we do not have such functionality but it's still a good practice to persist the state of our puppy list. To learn more about states, have a look at the docs:


2. On line 4, we call a LazyColumn composable. This is the equivalent of the RecyclerView that we as Android developers are quite familiar with. This honestly calls for a big celebration because of how easy it is to create a dynamic list with Jetpack Compose. 🎉
3. On line 5, inside LazyColumn params, we give it a nice little padding to give our items a bit of a breathing space, and
4. On lines 7-11, inside LazyColumn's content, we call the items function that takes our puppies list as the first param, and a composable itemContent (that we're going to create next) that takes our list item composable to populate with each item in the list.
Creating a list item 📝
Next, we're going to create our list item composable that we're going to call PuppyListItem:
- Create a new Kotlin file,
PuppyListItem.kt. - Write a new simple composable function in the class that takes a
Puppytype as a param. - Inside the function, create a
Rowthat represents a row in a list. - Inside the
Row, create a column of two texts and pass in the puppy title on the first text and a view detail as the second text.
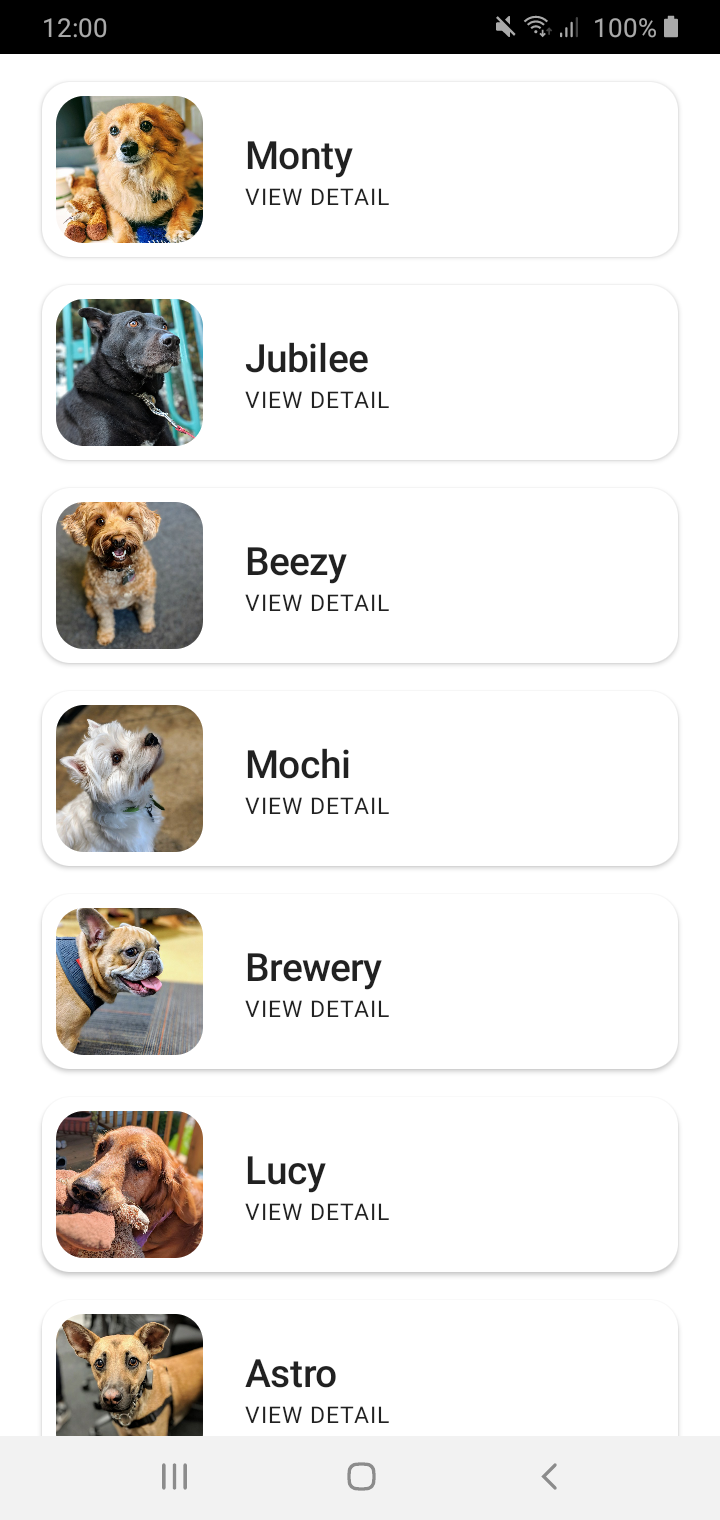
This is the result when running the app after creating our PuppyListItem.
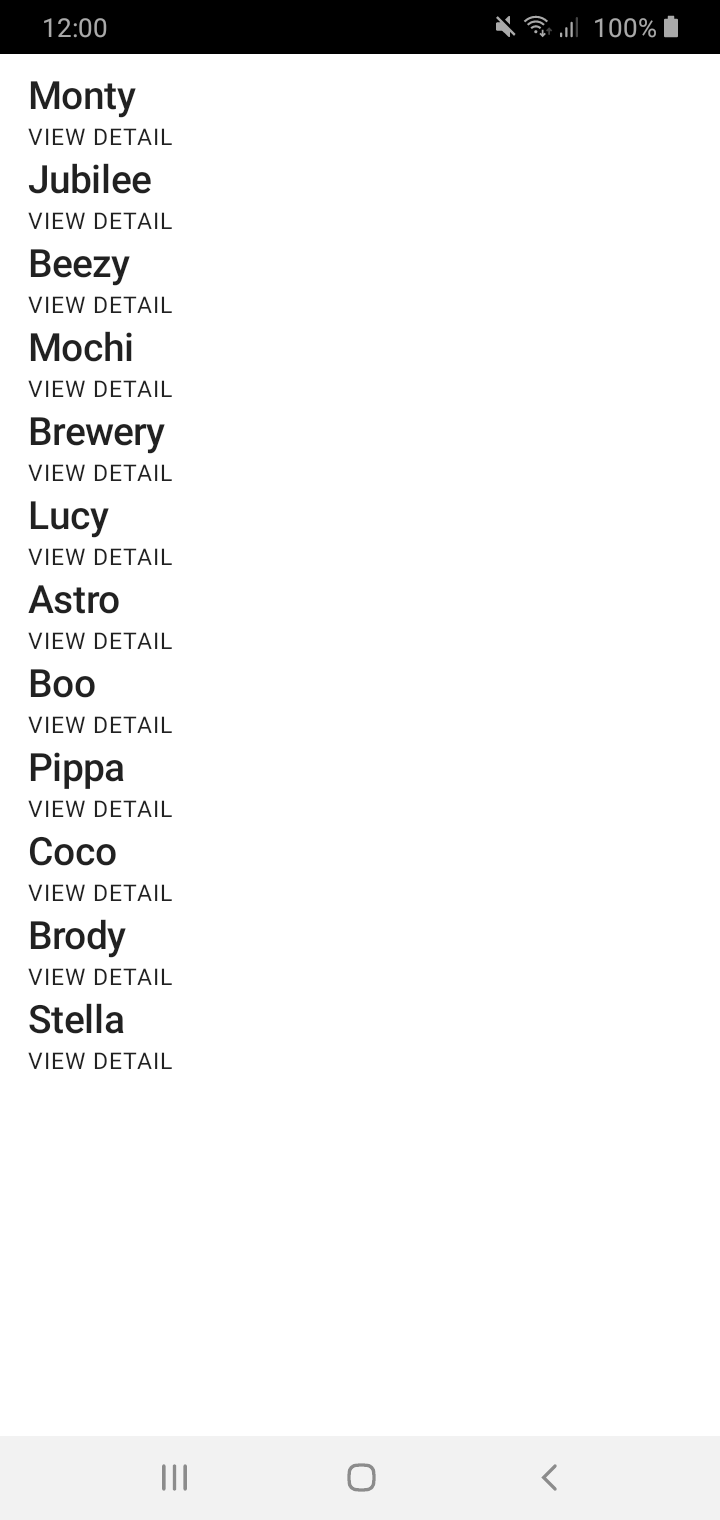
Not very nice looking. But there are easy steps to style our item.
Styling List item 🎨
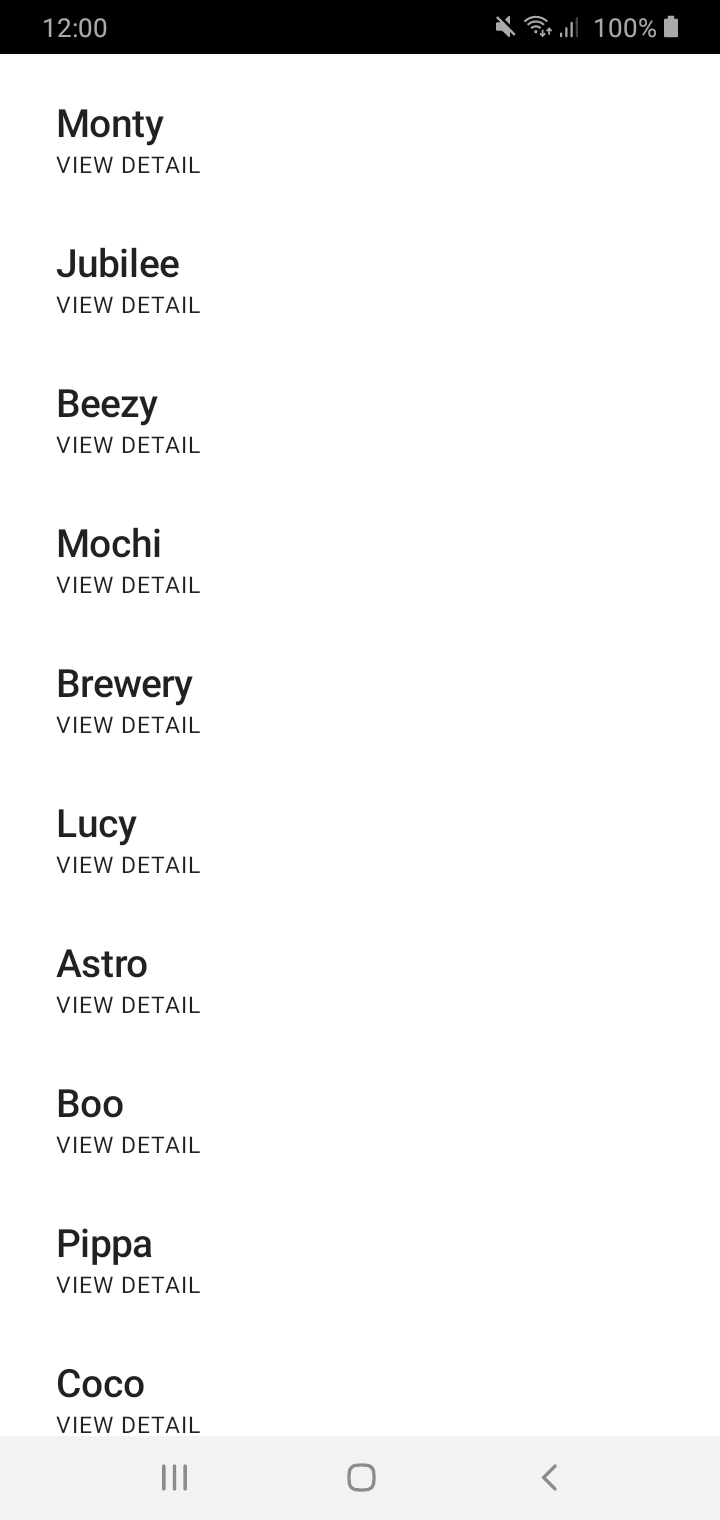
- Add a bit of a padding and make the texts full width for some breathing space.
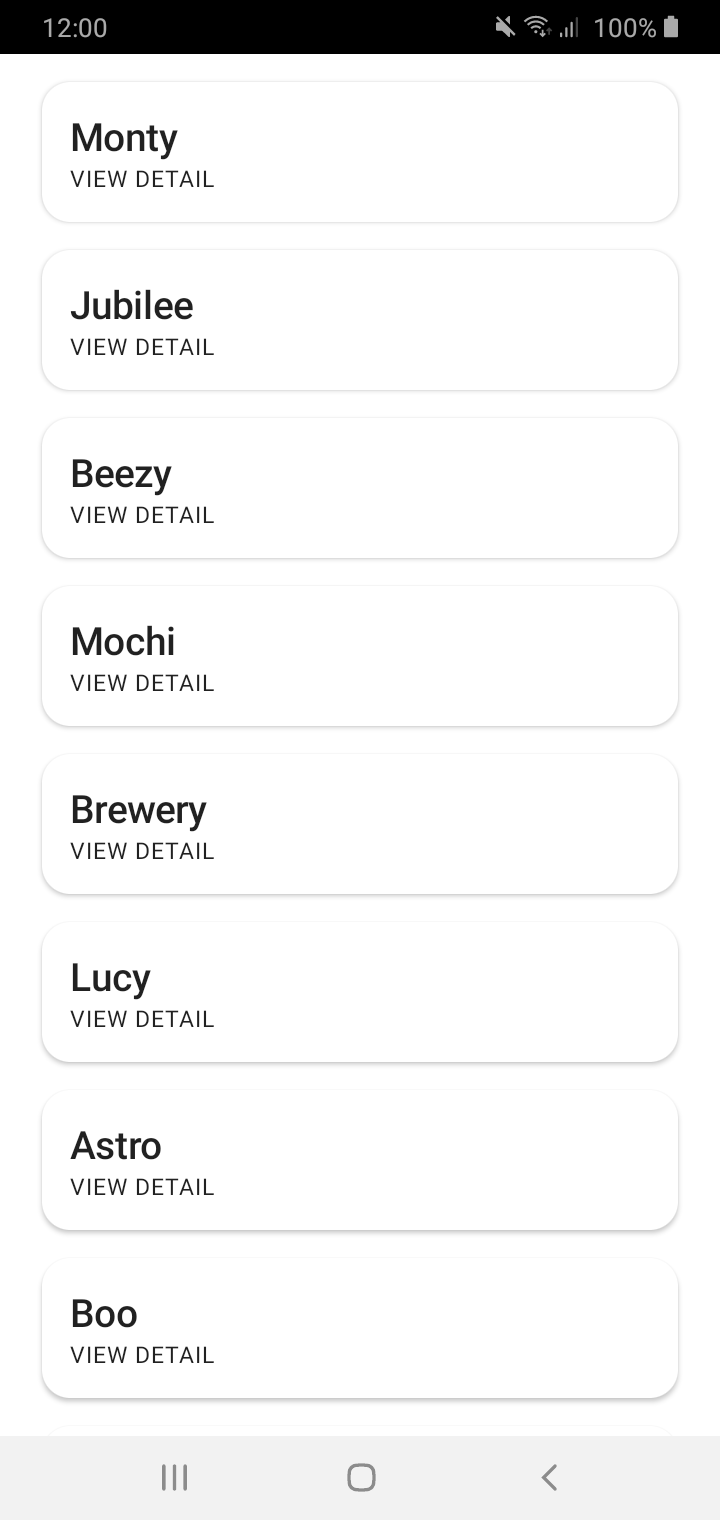
2. Surround your Row with a Card composable and style it as you please.
Finally, we need to add an image for each puppy. In order to do so:
- Create a new composable function,
PuppyImage()underPuppyListItem(), passing thepuppyparam. - Call the
Imagecomposable function and style it as you please:
3. Finally, call PuppyImage() the first thing inside your Row in PuppyListItem().
And voilà! we're done populating our dynamic list view with our data. And that's about it for this post.
The two things left now are to:
- Style the app to our final look.
- Implement a detailed view screen.
Happy coding! 💻
Up Next
 Waseef Akhtar
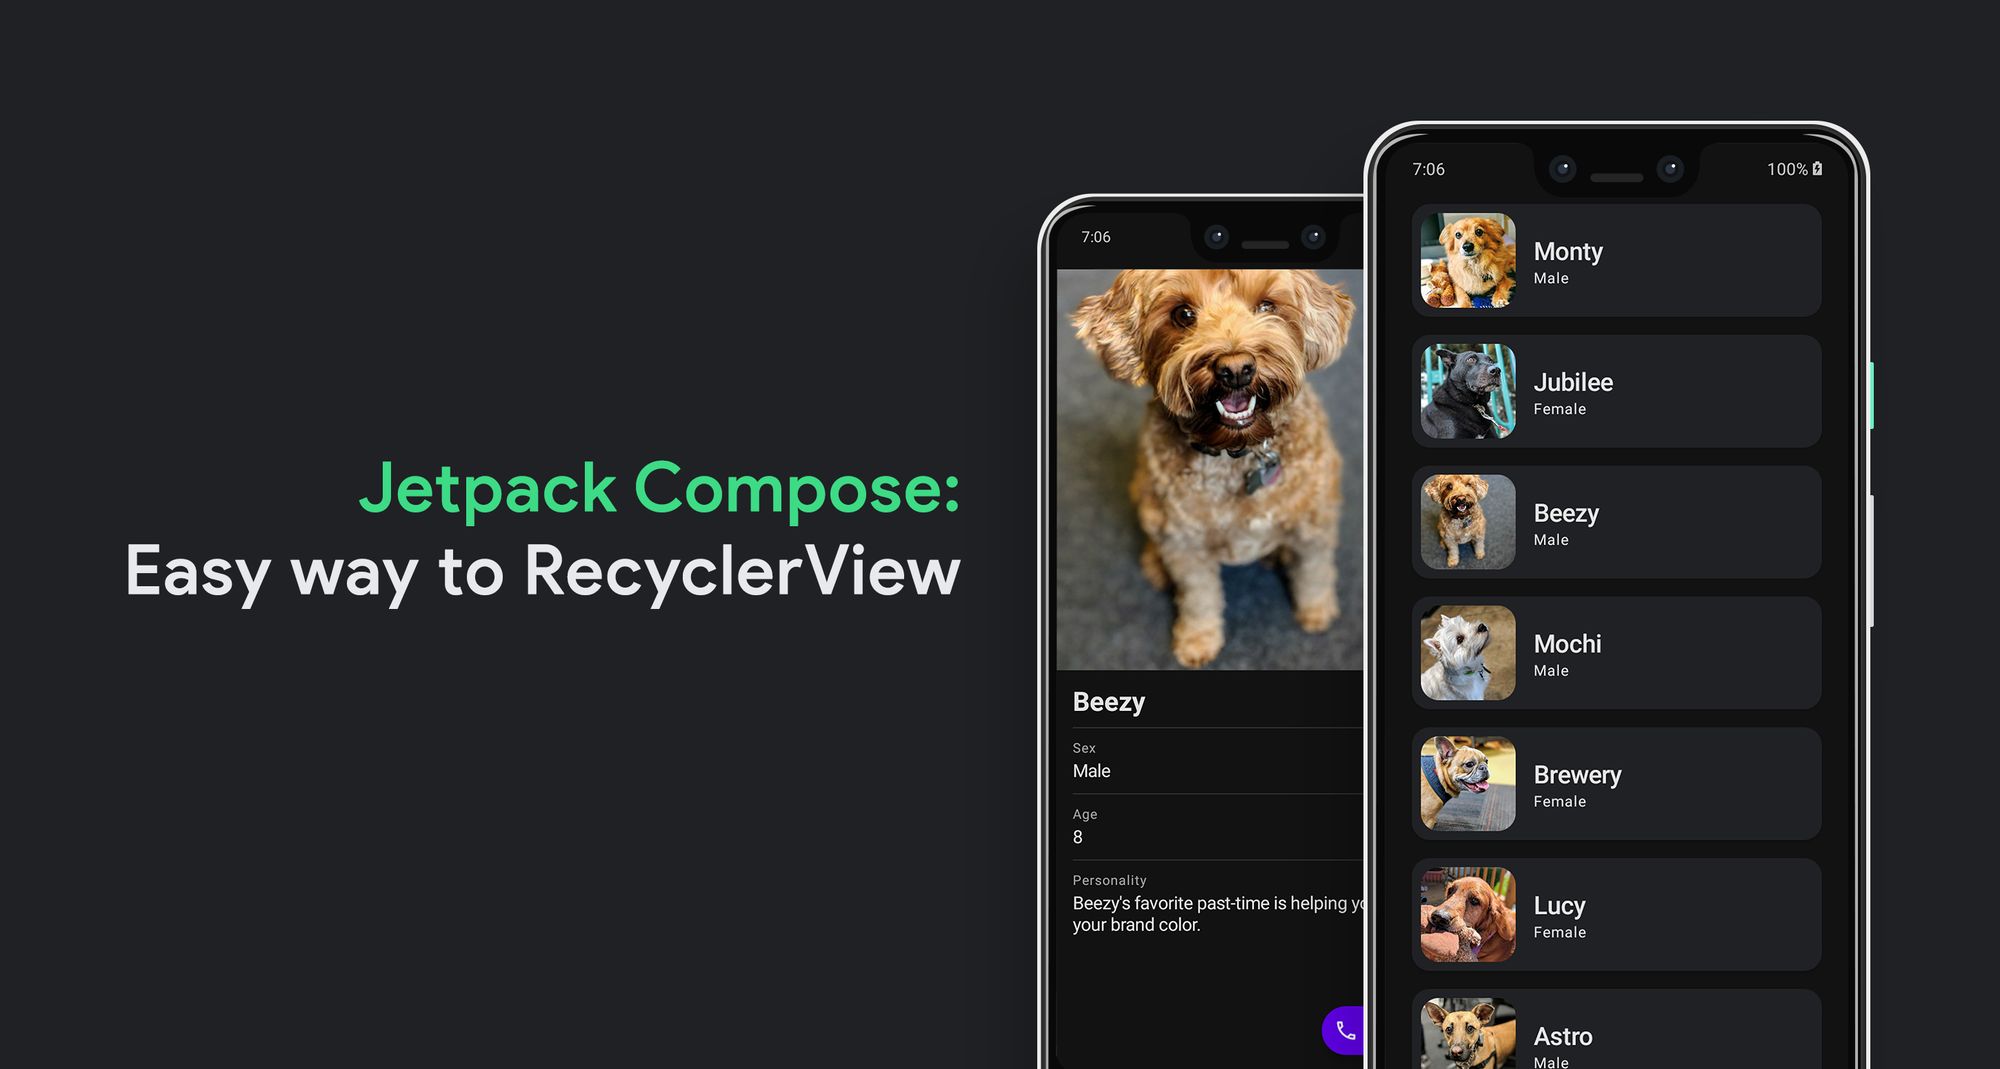
Source code for the Final Version
waseefakhtarAwesome that you came this far! 👏 Now I'd love to know what the most annoying part of this post was or if it was of any help to you. Either ways, you can drop me a DM on: www.twitter.com/waseefakhtar ✌️
If you enjoyed this, chances are, you might be interested in another other relevant story that I published, as well:
Waseef Akhtar