Android Material Component: Creating a Gmail like Navigation Drawer (Part II) — Adding that final Ripple touch
While I covered almost all the things there was about creating a Gmail like Navigation Drawer in the first part, this story is just about adding that tiny ripple effect to when you press the navigation drawer items.


If you’re into tiny details and interactions in the app like me, something probably always annoy you when the interaction is just not too perfect.
While I covered almost all the things there was about creating a Gmail like Navigation Drawer in the first part, this story is just about adding that tiny ripple effect to when you press the navigation drawer items.
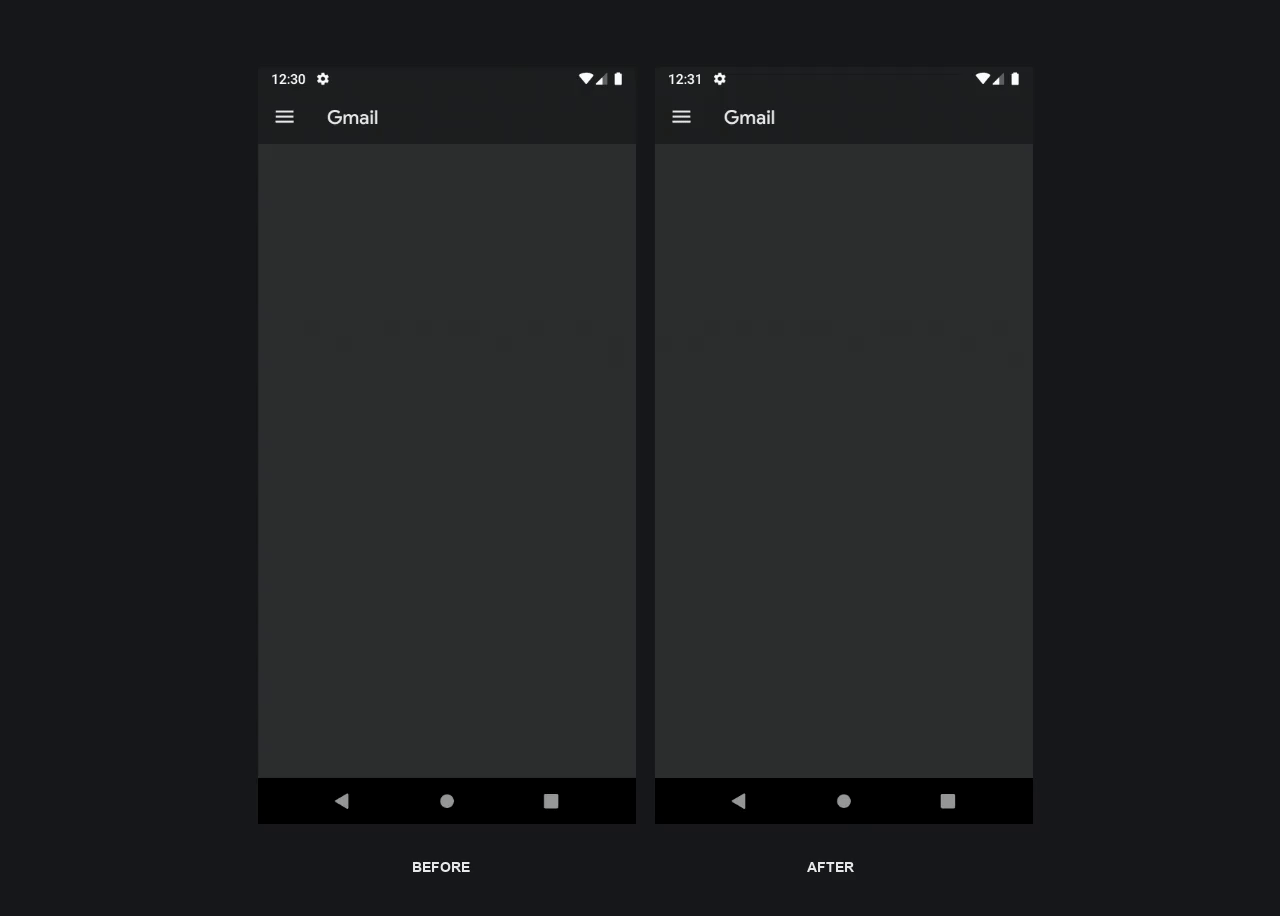
To look into the different before and after adding the ripple effect, here are two GIFs:
Although this is a tiny UI improvement which I did not initially plan to write about, I recently spent more time than I expected perfecting a ripple effect at work that it got me thinking to just write a blog about it and save everyone’s time once and for all!
Previous Post
 Waseef Akhtar
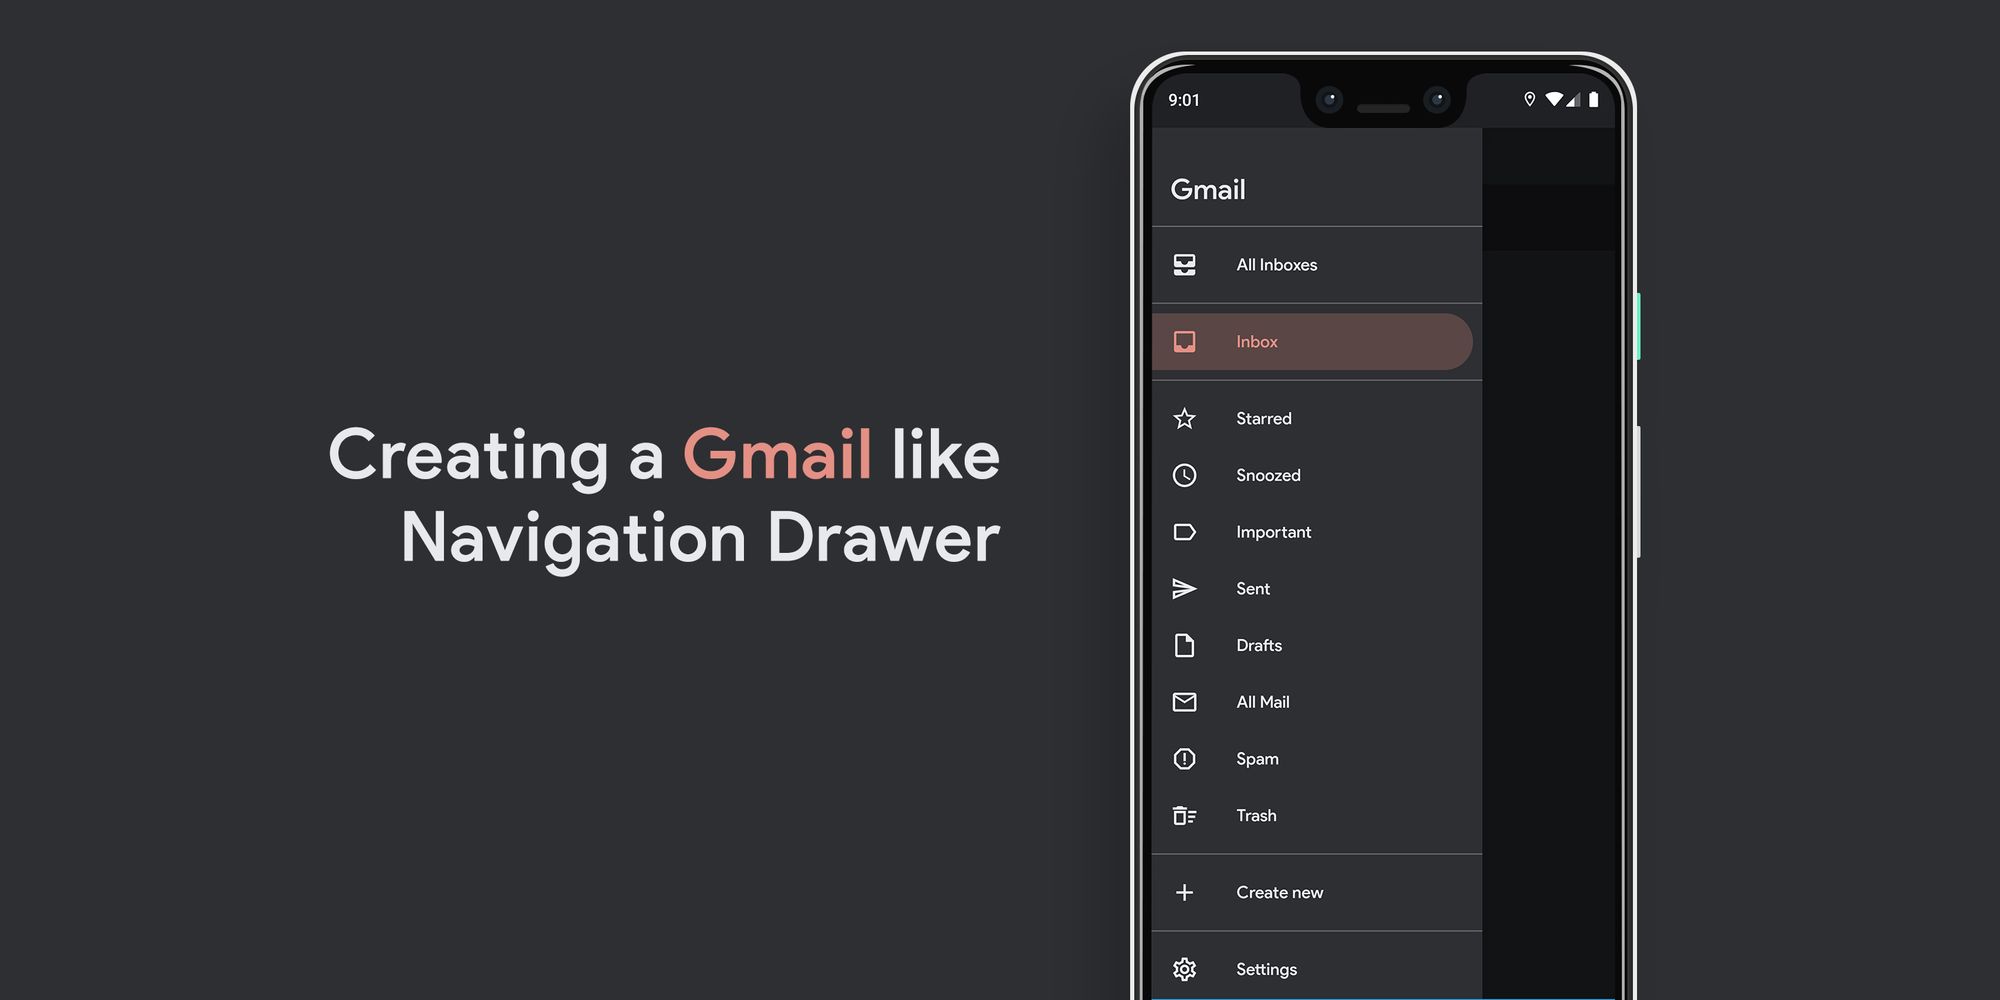
Ripple Magic 🎩
Now that you know what we’re trying to achieve, here’s how you achieve it:
- Open
background_round_padded_pressed.xml(This is the background for the menu item when it is pressed). - Replace the parent element from
layer-listtoripple. - When you get an error, add the required
android:colorattribute to the element and set it to the same color as the pressed item color already set for the shape item. - Add the already defined android ID
@android:id/maskto the shape item inside the ripple element. (This defines the bounds to the ripple effect, which in our case is already defined as a custom shape):
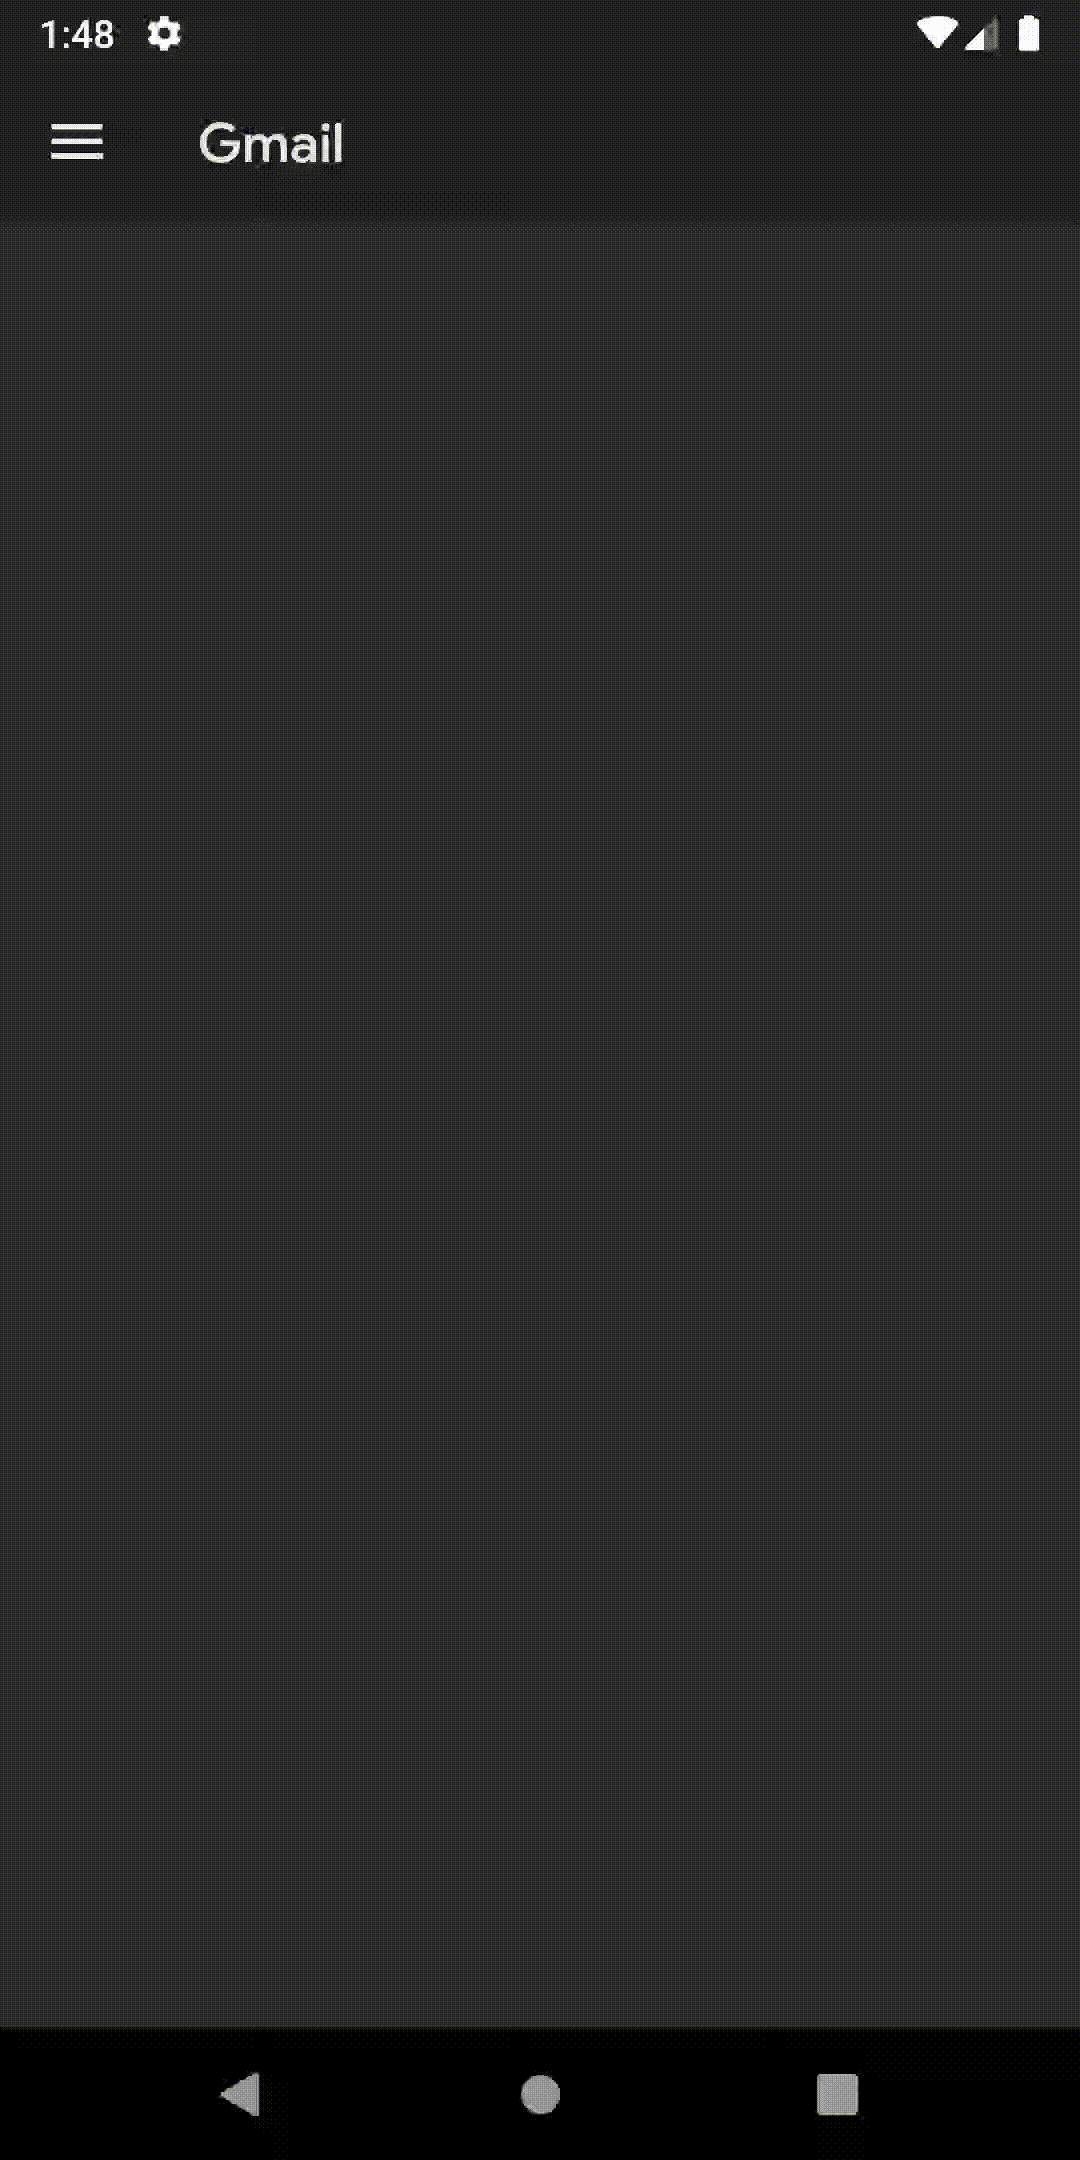
Running the app at this point will look like this:
It doesn’t show a very huge difference in how we started. Why, you ask?
Because Android already has some styles defined for its UI elements, and to take full control of your own colors, styles, and interactions, you need to override the styles defined by them.
In our case, a Navigation Drawer’s item background has an already defined highlightColor that is trigged when you press an item (You can notice by how it changes the text color when you press an item). In fact, the highlightColor triggers for almost all clickable element in an app.
Since we want to override the highlightColor only for the Navigation Drawer, we’ll create a new theme for the Navigation Drawer and not override its value inside our main AppTheme. (this is good practice so that it doesn’t affect other UI elements in an app)
Fix highlightColor 🖌
To override the highlightColor:
- Open
styles.xml. - Create a new style, extending from the main
AppTheme, like so:
3. Open activity_main.xml.
4. Add the new theme to the NavigationView with android:theme attribute:
And..
This almost completes our tutorial here but there’s a catch, you can make your ripple smoother than how it is at the moment.
Make Ripple smooooth…
If you notice, the ripple currently is not very smooth and has such a small duration that it’s almost unnoticeable.
This is because we currently trigger our ripple when the item is pressed. But we apparently have more states for each item that you can think of.
What if we could trigger the ripple as soon as the item has focus from the user (i.e. a fraction of a second before the item is pressed)?
Here’s how to do it:
- Open
menu_item_background_color_state.xml. - Replace the ripple’s item state attribute from
android:state_pressed="true"toandroid:state_window_focused="true":
And voilà! 🎉 Here’s one of the tiny UI tweaks that always make my day when perfected:

Happy coding! 💻
Source code for the Final Version
 waseefakhtar
TL;DR
Code snippet for the demo above in three easy steps:👇
— Waseef Akhtar (@waseefakhtar) August 14, 2020
1. Create a pressed state for item’s background using the ripple tag.
2. Use it in a state list for menu item’s background.
3. Reset the colorControlHighlight value. 🎉#AndroidDev #100DaysOfCode pic.twitter.com/QjlzwUmasJ
Have something to say? Leave me comments on Twitter, DM, or follow: www.twitter.com/waseefakhtar ✌️
If you enjoyed this, you might also be interested in other stories that I recently published:
Waseef Akhtar