Jetpack Compose: Implementing the Detail View (Part IV)
If you're new to Jetpack Compose and looking at all the cool UI screens and animations around the internet like me, you're probably a bit overwhelmed but also curious about how things work in compose.

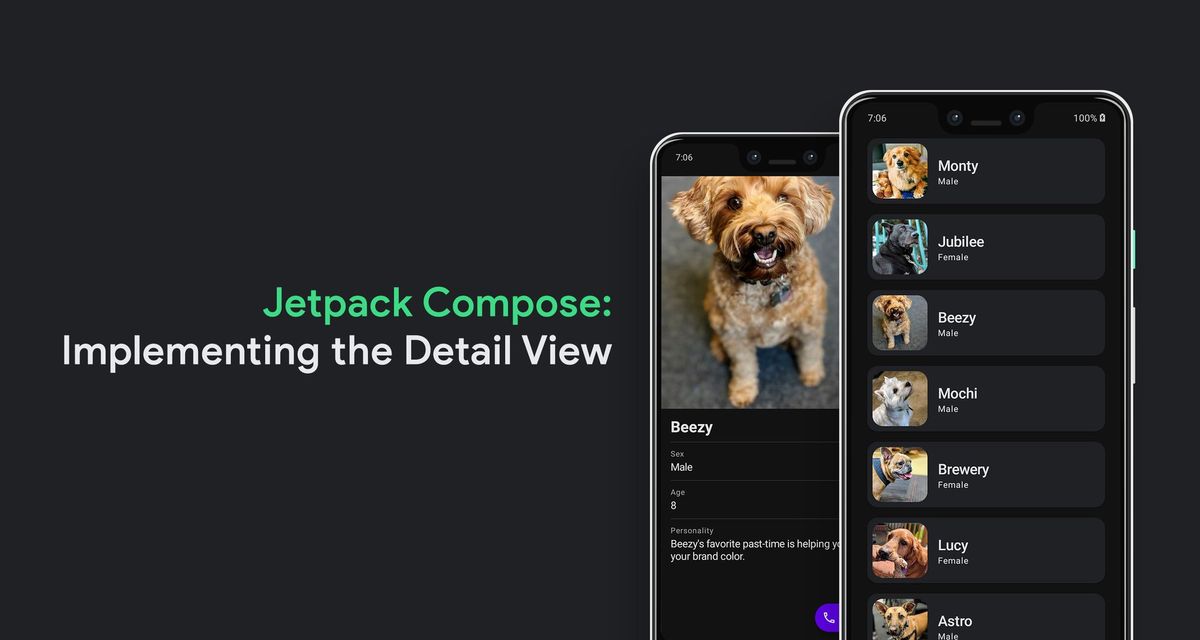
Alright, in this last part of the series, we'll be looking into implementing the detail view of our app that one navigates to from the list view that we've successfully implemented in the previous parts.
In case you’re not fond of reading blog posts, I’ve also turned this 4-part Jetpack Compose series into a 13-minute speed code video with some laid back music for you to watch and relax to! 😊
For a quick recap, here's where we left our app after implementing the navigation from the list view to the detail view in Part III:
If you aren't sure exactly what I am referring to, please go through the previous posts in order to understand better.
Previous Posts
 Waseef Akhtar
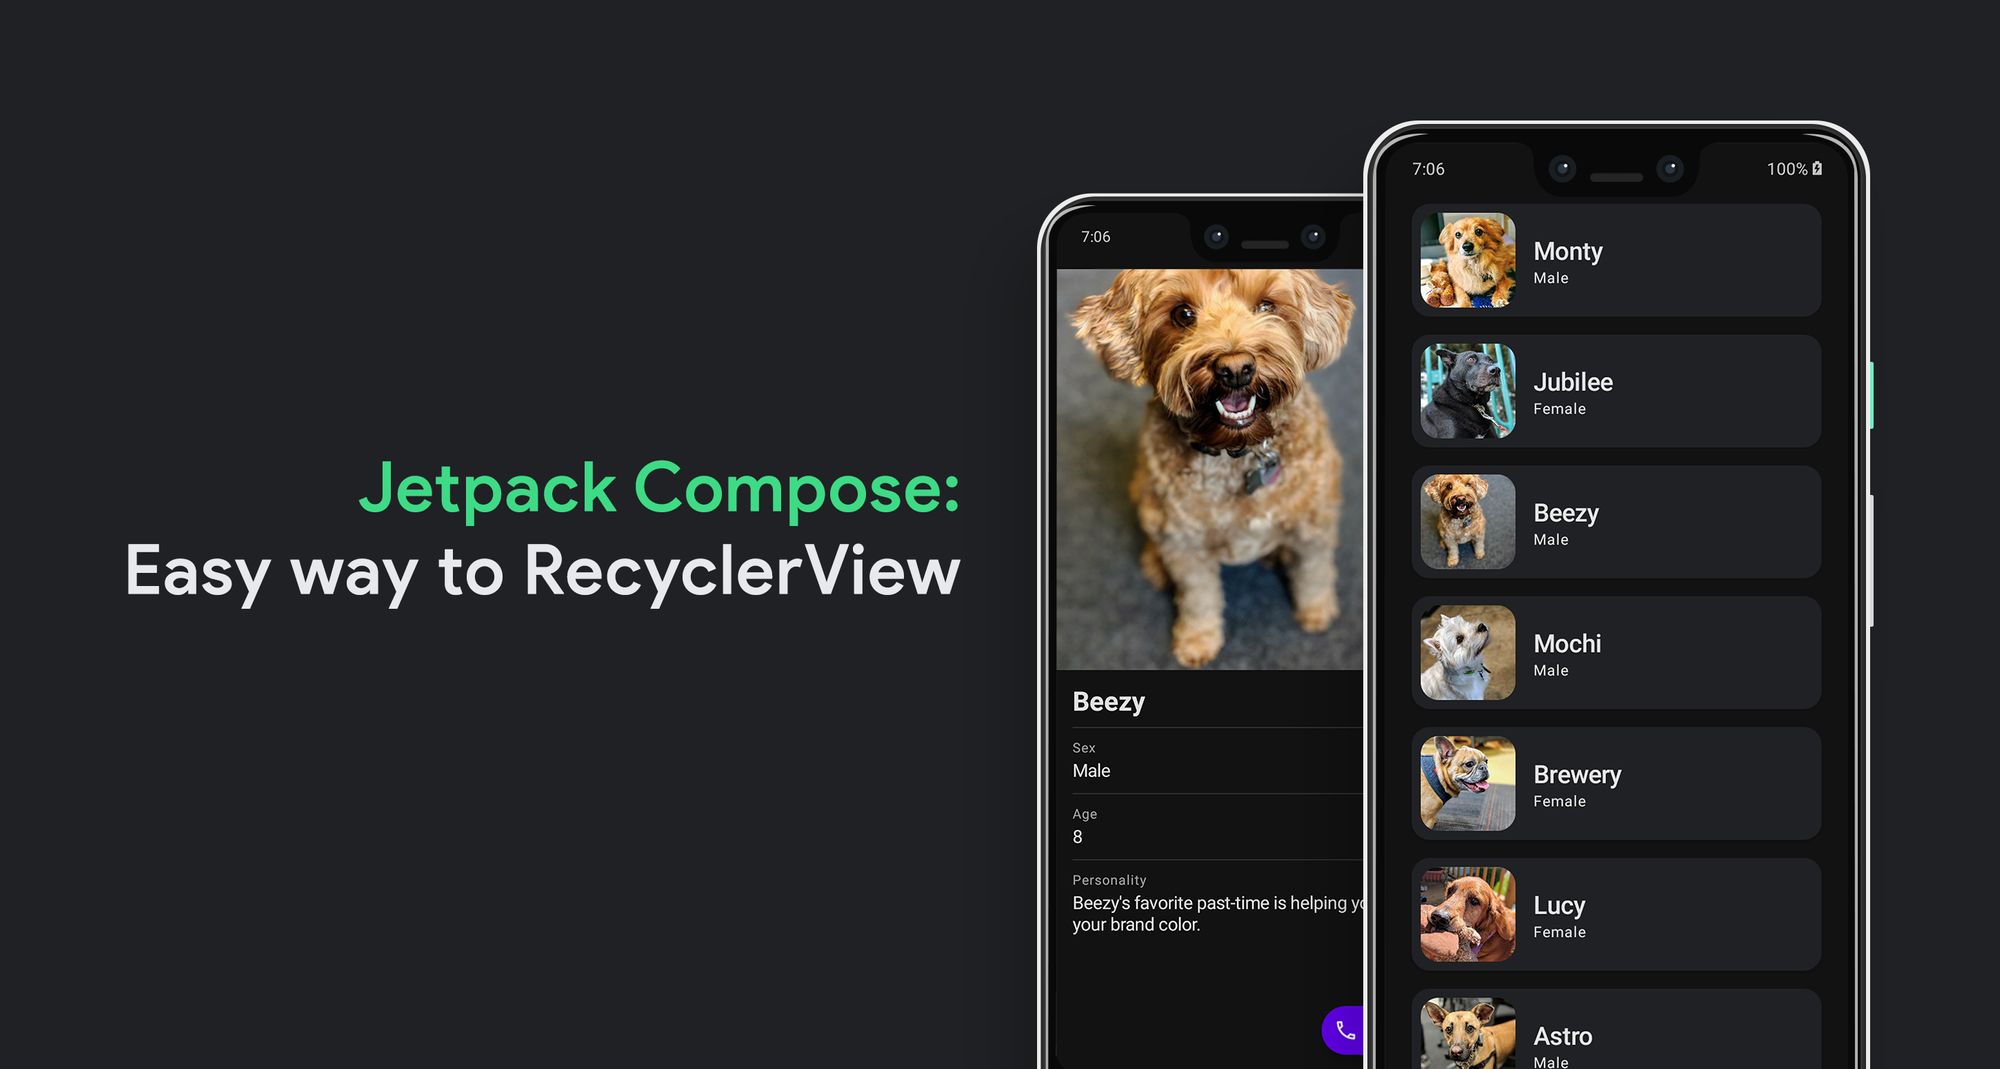 Waseef Akhtar
 Waseef Akhtar
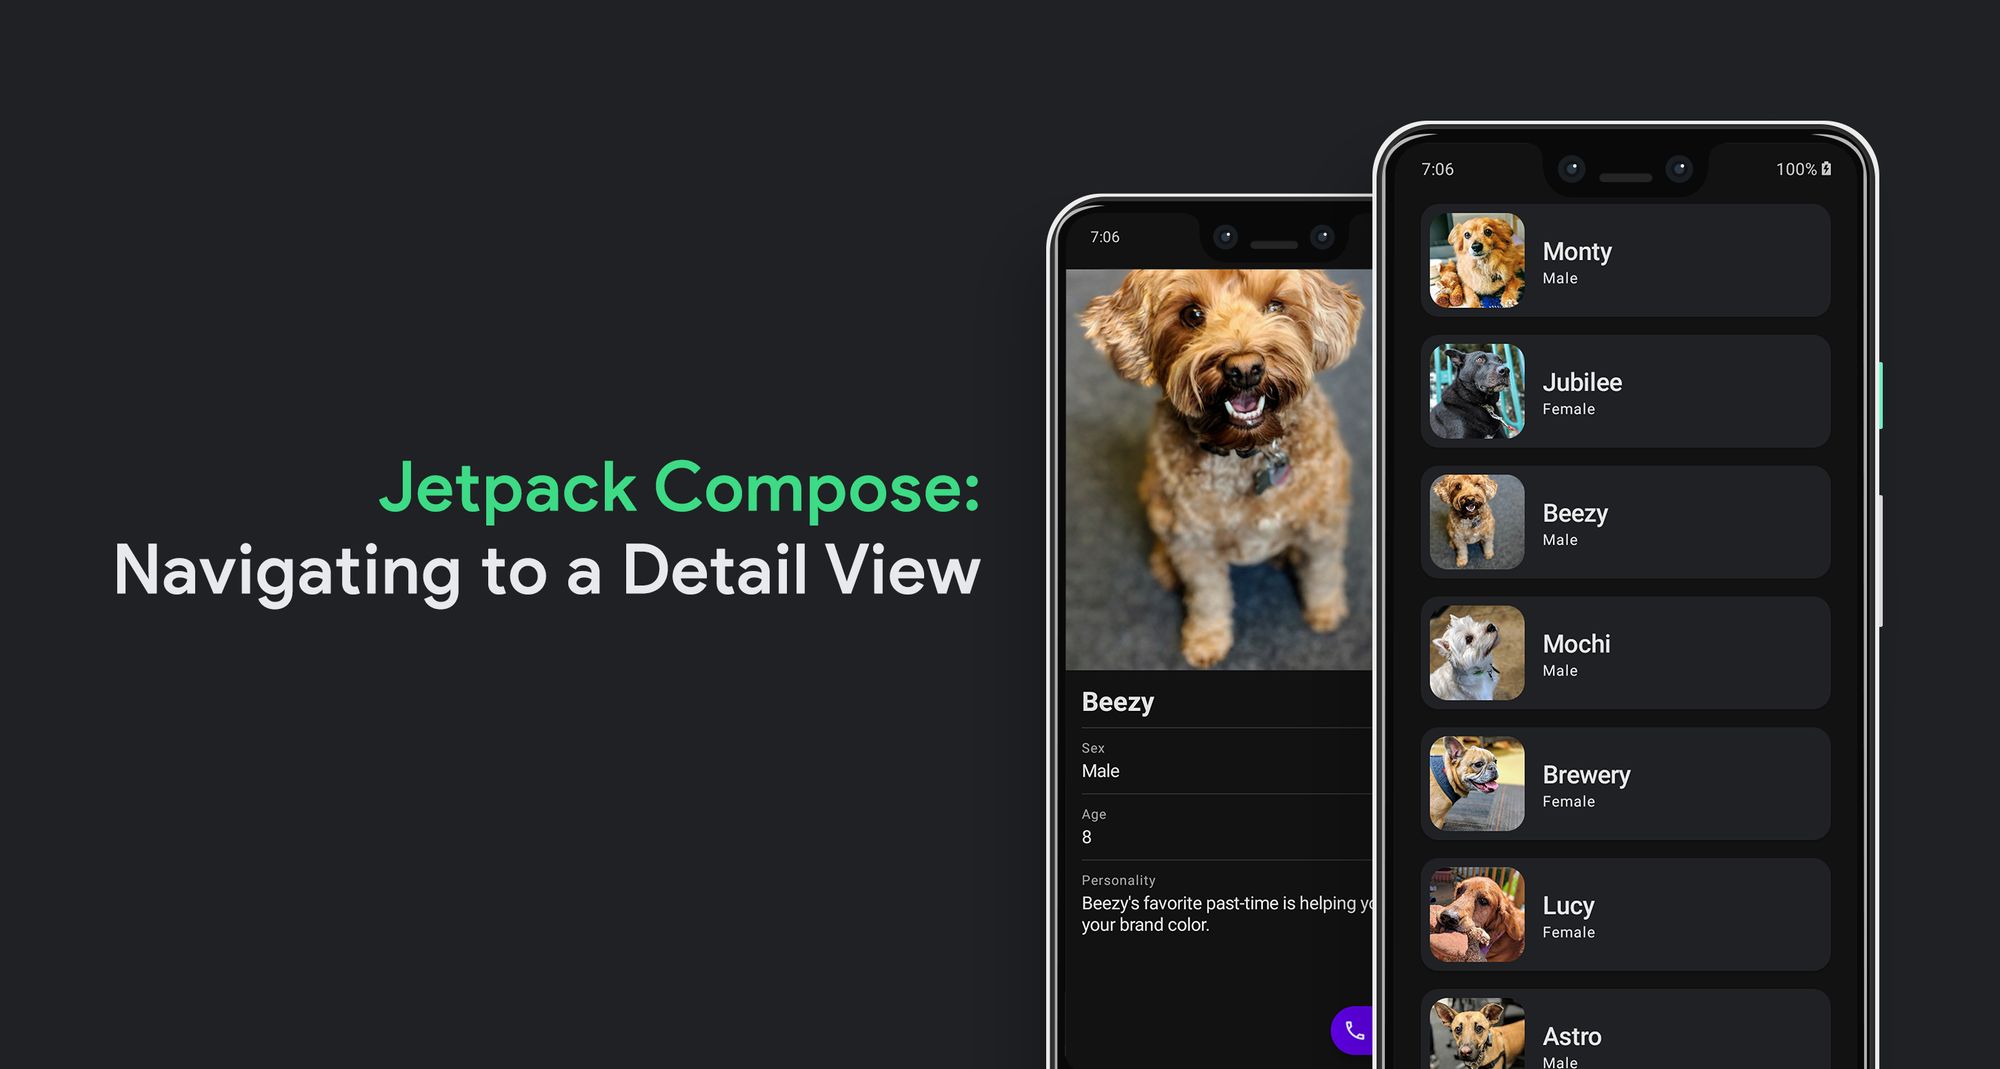
Let's Get Started 🐾
At the moment, we have a sample detail view screen that greets the particular puppy that we click on for testing purposes.
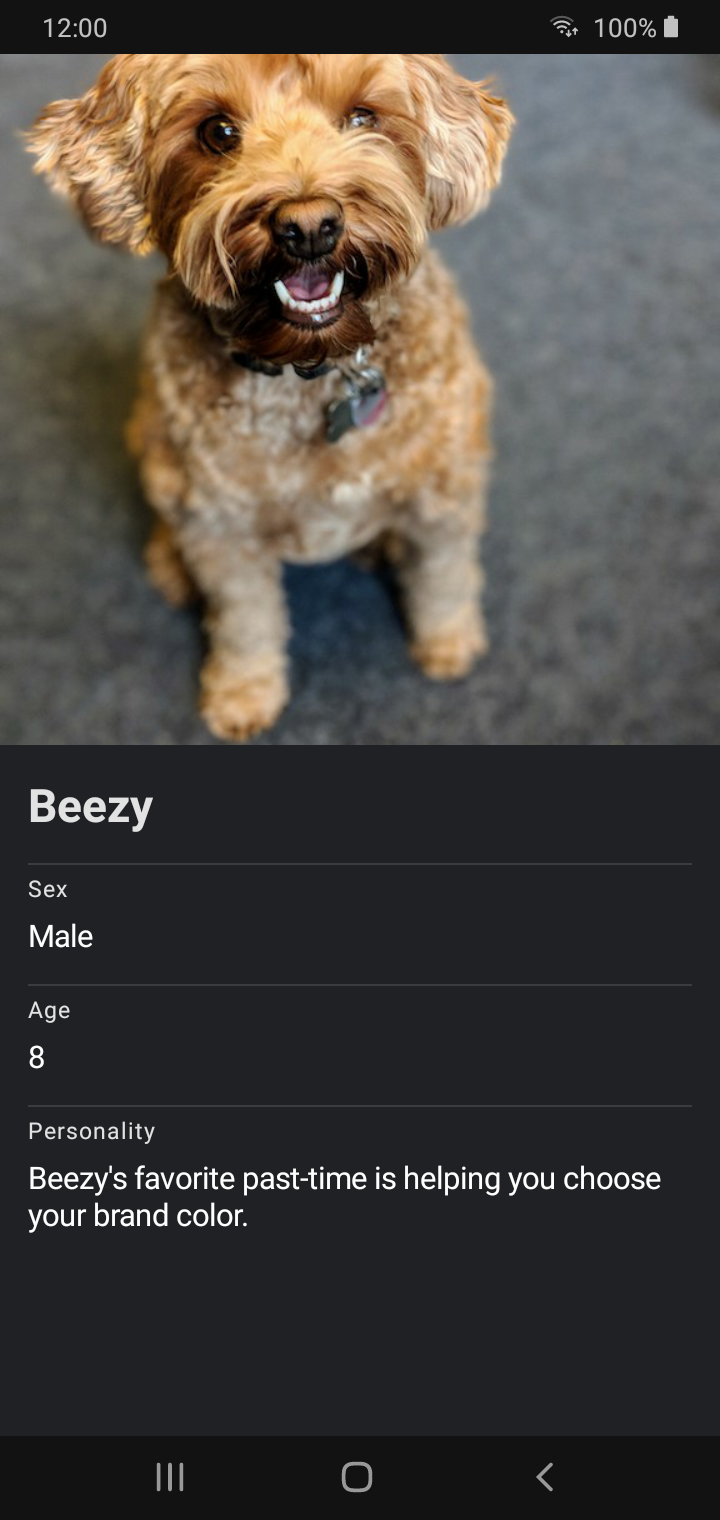
The goal of this part is to convert the sample screen to a profile view of the puppy, similar to the one below 👇

The goal is simple, to let the detail view show a full-width photo of the puppy, and populate the rest of the screen with puppy's data.
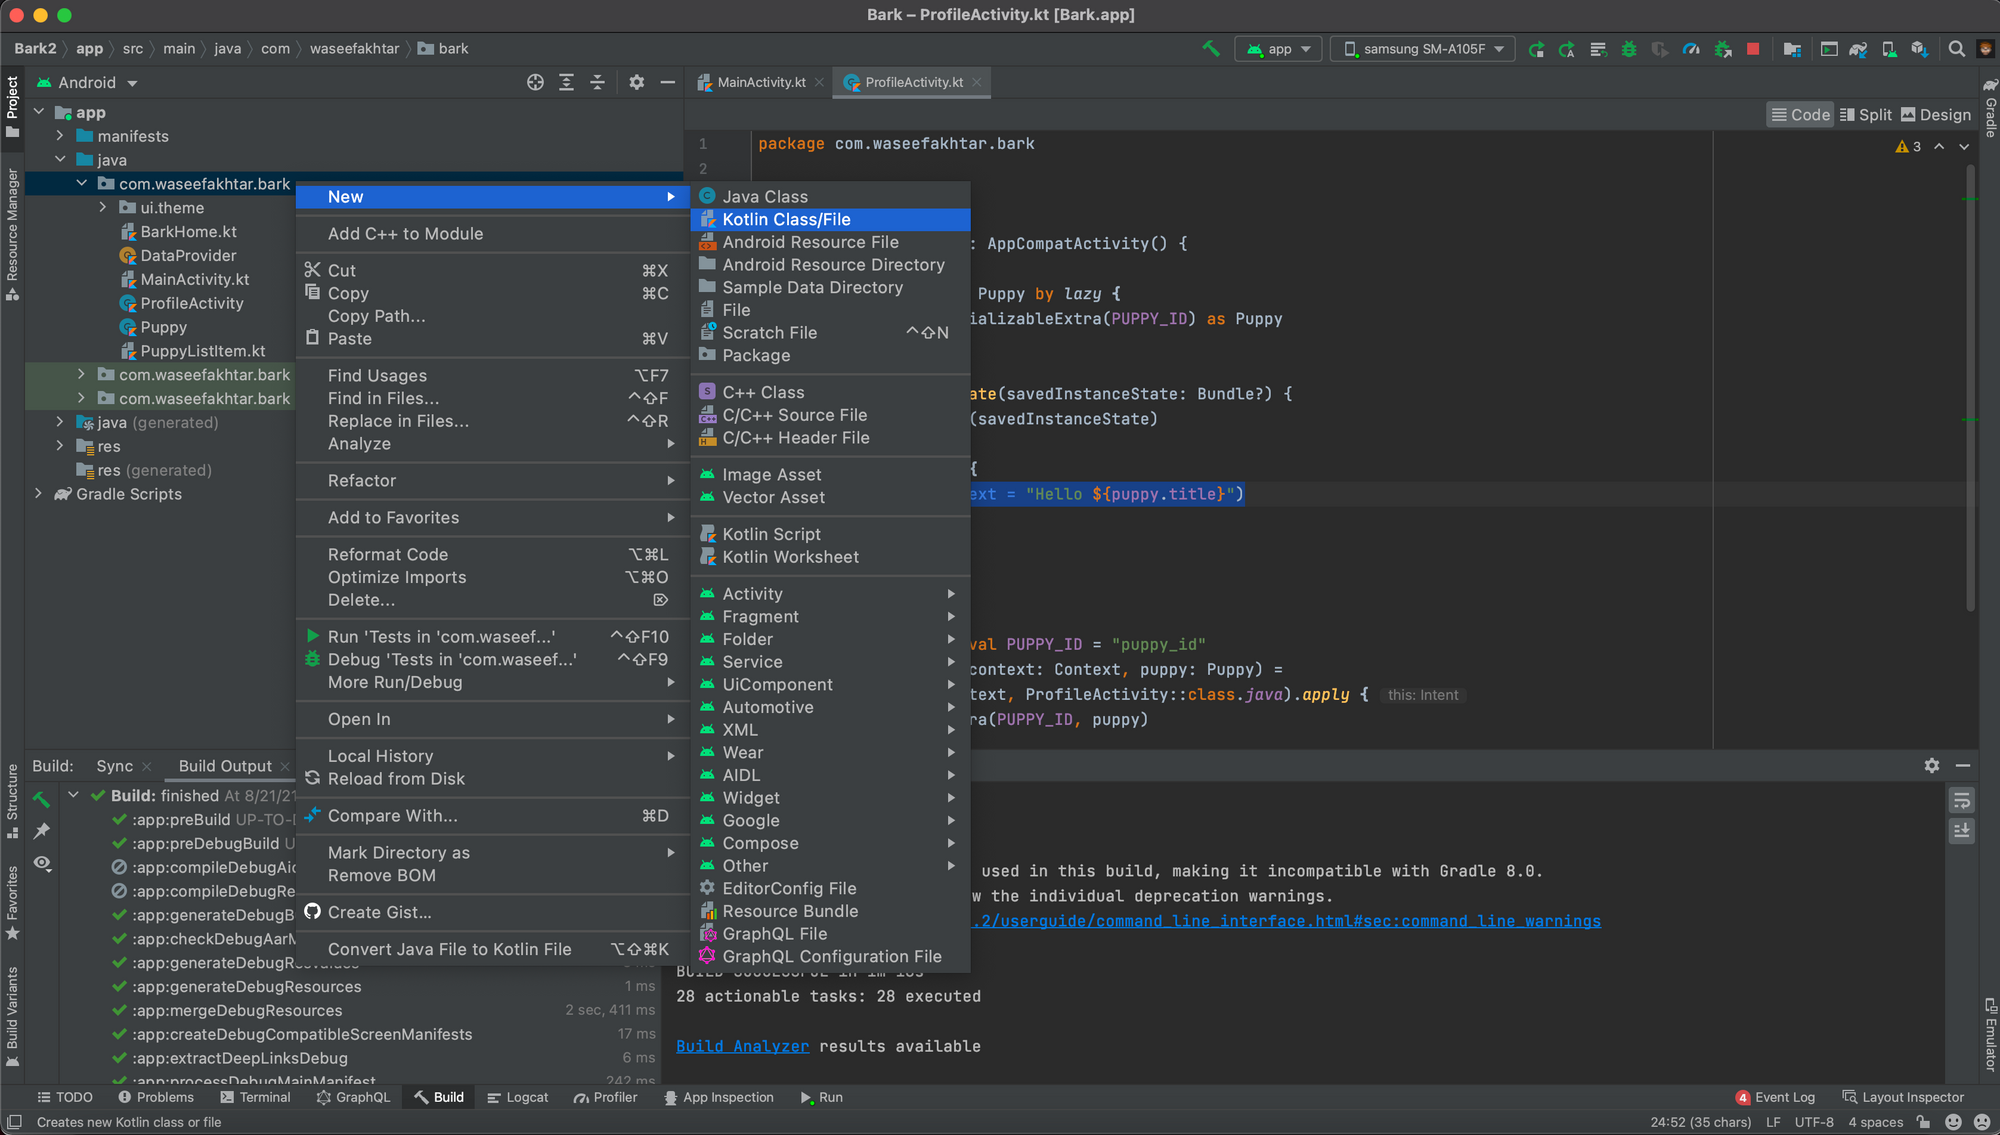
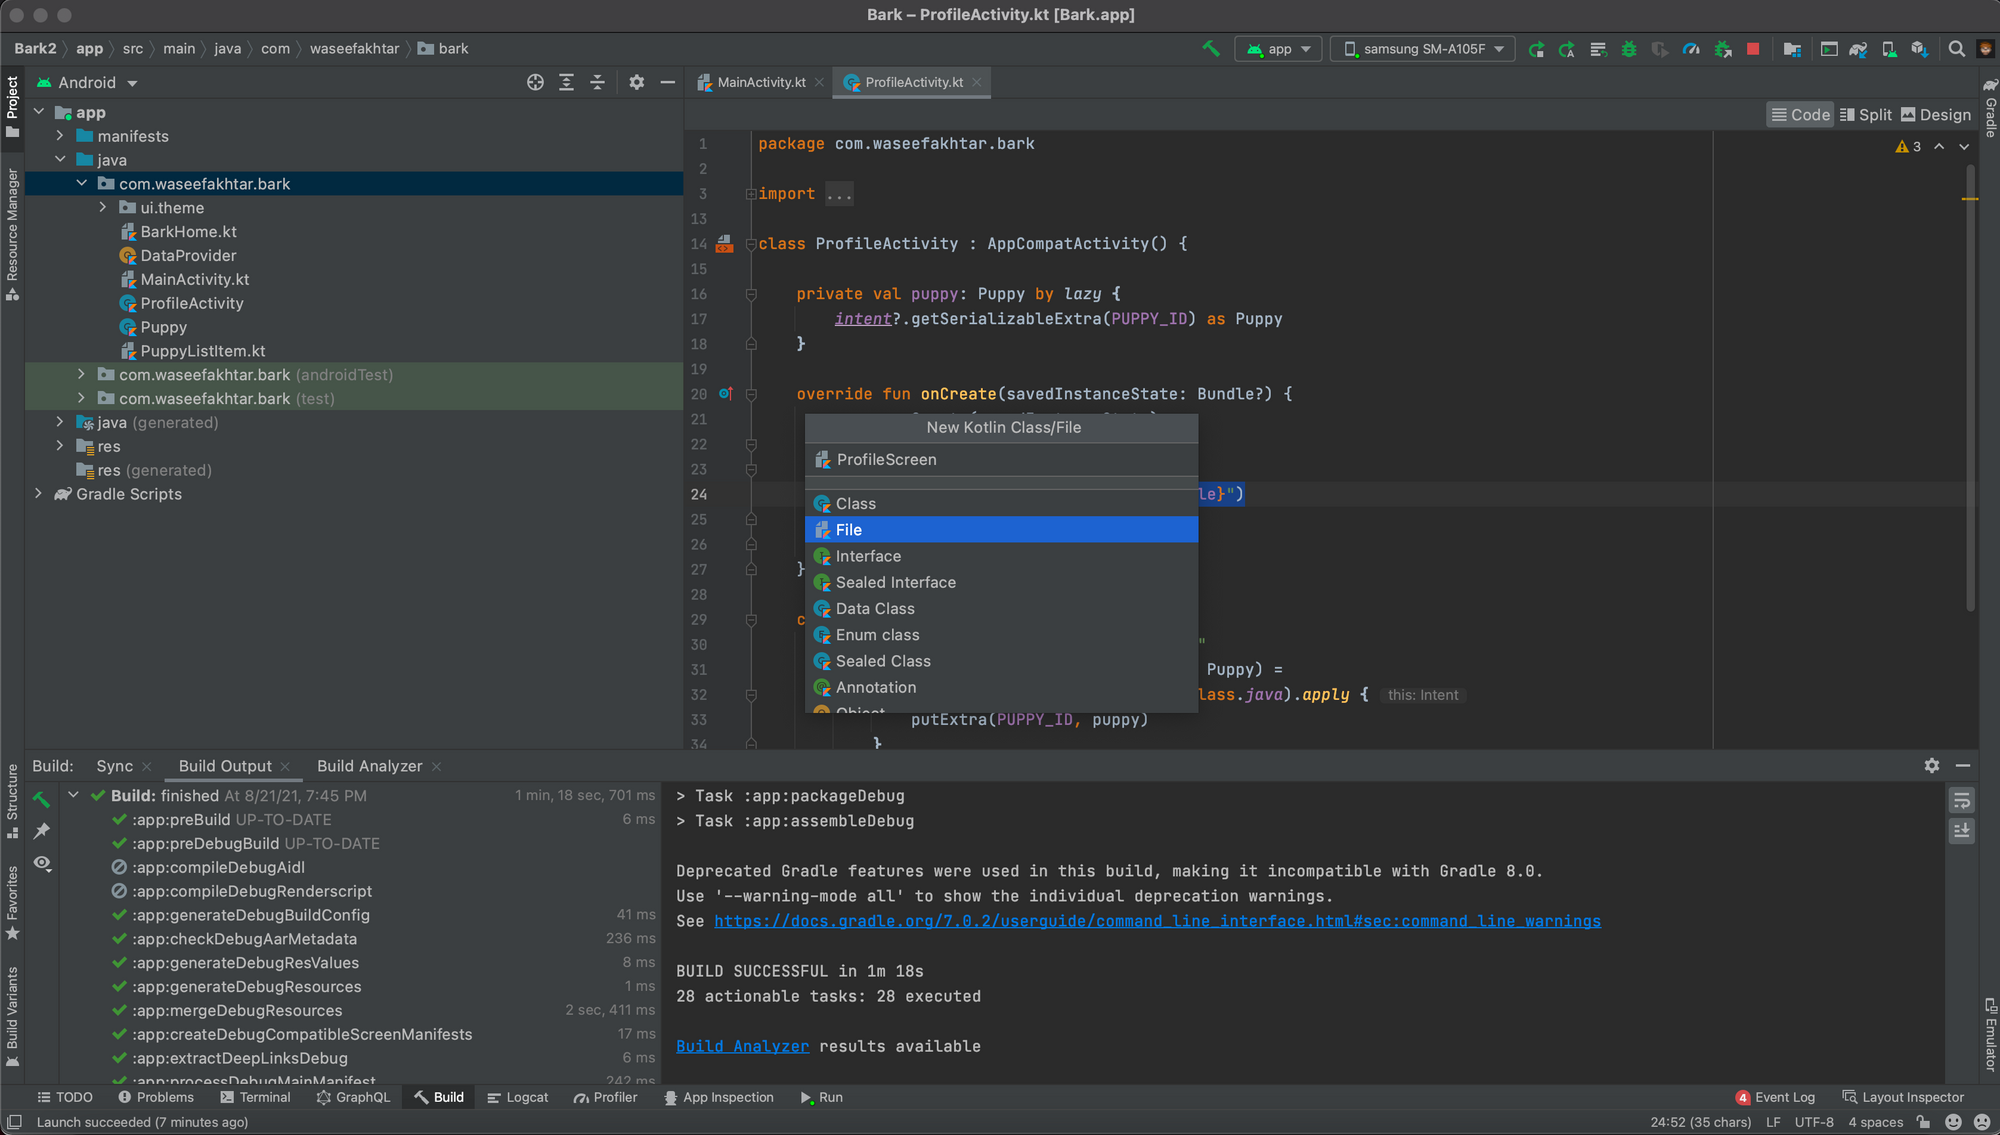
Let's start by creating a new class called ProfileScreen and replace our Text(text = "Hello ${puppy.title}") with a call to the ProfileScreen composable function:
- In the root directory where our
MainActivityandBarkHomefiles are, create theProfileScreenfile.
2. Create a ProfileScreen composable function in the new file and pass in the puppy argument to it.
3. In the function, we're going to define our layout as well as create a variable to store our scroll state in order for us to observe the scroll state, like so:
This creates a single Column covering the maximum width and height on the screen.
Inside the column, We call a BoxWithConstraints function. This is used to help us pass the height of the screen to our content in order for us to adjust and size our content on the screen accordingly. You'll see this in a bit when we create the content.
Then, inside the BoxWithConstraints, we call the material design's Surface function. This will be used to style our content as defined by material design, you know, text color, text size, etc.
Inside the Surface, we call another Column function. This is used to place our content from top to bottom nicely. Without using this Column function, the content is placed on top of each other instead.
4. We finally need to replace our Text(text = "Hello ${puppy.title}") in ProfileActivity class to call the new ProfileScreen function.
Running the app at this stage should show an empty profile screen:

Next, we're going to create the content of the screen:
Profile Header
For the header section, we're going to simply have a full-width picture of the puppy. So let's create that:
- Add a new
ProfileHeadercomposable function beneath theProfileScreenfunction, with two arguments to pass the puppy object and the container height. - Define the
Imagefunction with:
- The
modifierargument to let us set the image height to half of the screen, and width to be edge-to-edge. - The
painterargument to let us set the image using the image resource id. - The
contentScaleto set the aspect ratio of the image so it neither looks stretched, nor let the image take its original width and height, leaving any blank spaces at the edges (remember that we want it edge-to-edge?) - The
contentDescriptionargument to define what the image represents for accessibility purposes. We can set this to null for now.
3. We can now call this function inside the ProfileScreen function inside the last Column that we created.
Notice the maxHeight that we pass to the ProfileHeader for the container height so that it defines the height of the image? This is what we needed the BoxWithConstraints function for.
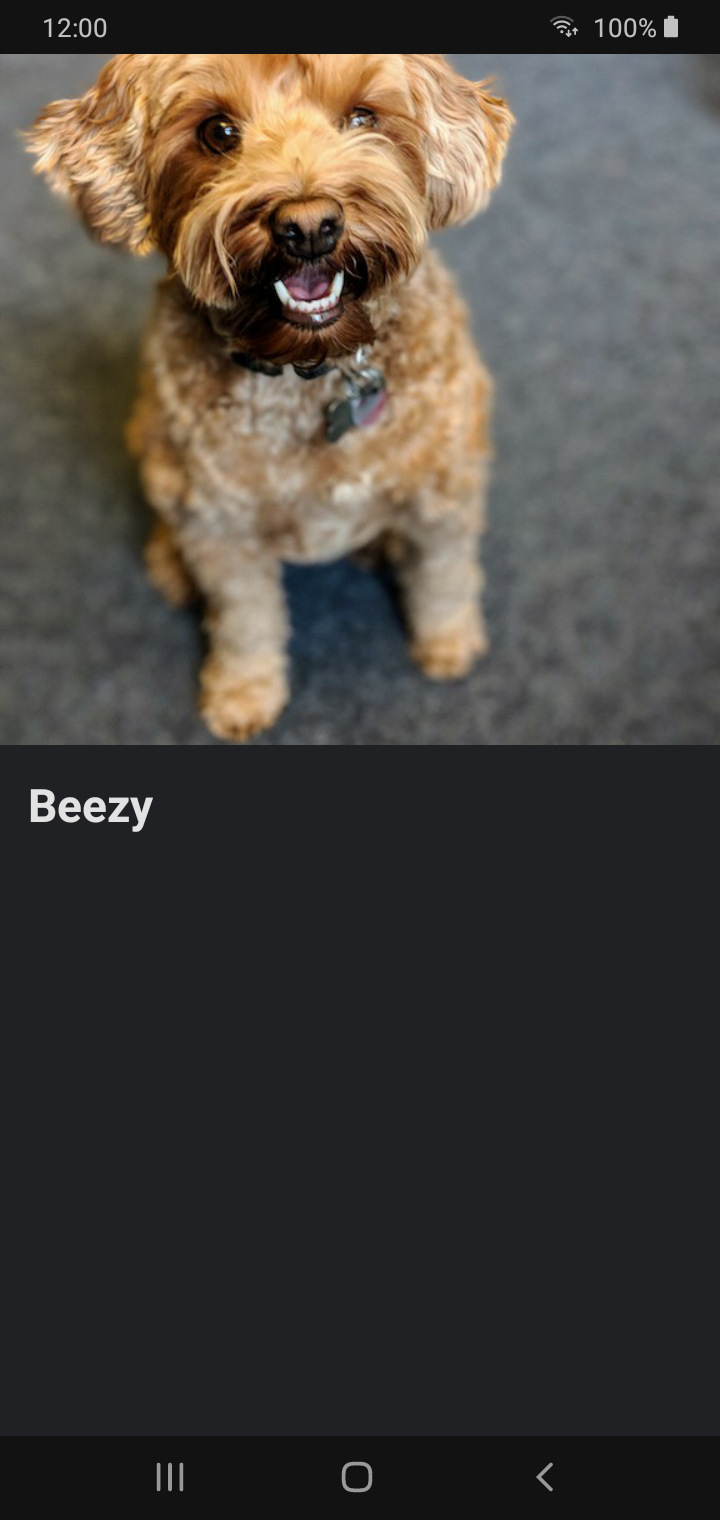
Running the app at this stage should show the profile header in the profile screen:

Well and good! Next we're going to populate the screen with more information about the puppy.
Profile Content
- Beneath the
ProfileHeaderfunction, create a newProfileContentfunction taking in two arguments: the puppy object and the container height. - Inside the body, we define a
Columnfunction that arranges our content from top to bottom rather than on top of each other.
Inside the column function, we will set the puppy name as the title, followed other textual information regarding the puppy in a table like view.
- In order to do so, we will create another function underneath
ProfileContentcalledTitleand pass in the puppy object. - Inside the function, we define a
Columnwith some padding for some breathing space for the title. - Inside the
Column, the call theTextfunction, passing in the puppy title as the text and styling it with some basic properties.
Upon calling the Title function inside the ProfileContent, our profile screen now shows the title.
Next, we're going to show the rest of the textual information in a table like view. For that, we need another function beneath the Title function called ProfileProperty, that takes in the label of a property (e.g. Age title) and the value of a property (e.g. the age of the puppy).
- Inside the function, we call a
Columnsetting some padding for breathing space. - Inside
Column, we call aDividerfunction to add a vertical line before showing any new property. - We call a
Textfunction to show the label with acaptionstyle. - And we call another
Textthat shows the value of the property with abody1style and making the text break to the next line if the text exceeds the current space on the screen.
We're now going to call this ProfileProperty function inside ProfileContent with different properties of the puppy, for instance, age, sex, personality, like so:
In case you don't have string resources for the label of the property like we have here, you can define them inside res > values > strings.xml file:
Running the app at this stage should show all the defined information in a nice table like view:
Great! We're ALMOST there, except that the profile screen doesn't scroll and that's a problem.
The problem is that some phones with small height might show some trimmed text at the bottom which won't be scrollable because we don't have any empty bottom space that one can scroll to and height of the entire content is currently only until the bottom of the Personality text.
To make it scrollable, we simply need to call a Spacer function to add some extra vertical space after our Personality property:
We also need to make sure our extra height doesn't go below 0 dp, thus adding the .coerceAtLeast(0.dp))) as one of our Modifier properties.
And.. there you go! Running the app at this stage shows the complete app that we've wanted to create:
And that's it! Give yourself a pat on the back at this point for having now learnt a ton of things Compose. 👏
Here's a quick summary of what we've learnt in this series:
- Creating a list view.
- Navigating to a detail view.
- Implementing the detail view.
Happy coding! 💻
Source code for the Final Version
 waseefakhtar
Awesome that you came this far! 👏 Now I'd love to know what the most annoying part of this post was or if it was of any help to you. Either ways, you can drop me a DM on: www.twitter.com/waseefakhtar ✌️
If you enjoyed this, you might also be interested in other stories that I recently published:
Waseef Akhtar